How to create a pattern archive
Aug 27, 2023In the last couple of weeks, we’ve been looking at the topic of resists. But the focus was more on what you need to know at the beginning of your wet felting journey.
If, instead, you’re a more seasoned felt maker, you might be facing other issues, like what to do with the piles of resists and paper templates you collect along the years.
As you need more resists for your projects, you’ll start collecting them in all shapes and sizes. And, most probably, what’ll happen after a while is that you no longer know what some of them were for. At least, that’s what’s happened to me 😊
To avoid this, I recommend you create a pattern archive. This is what I’ve started doing some time ago, after things became really chaotic.
I now have a system that works really well. So, if you want to give it a try, here are my tips on how to organize your resists and patterns.
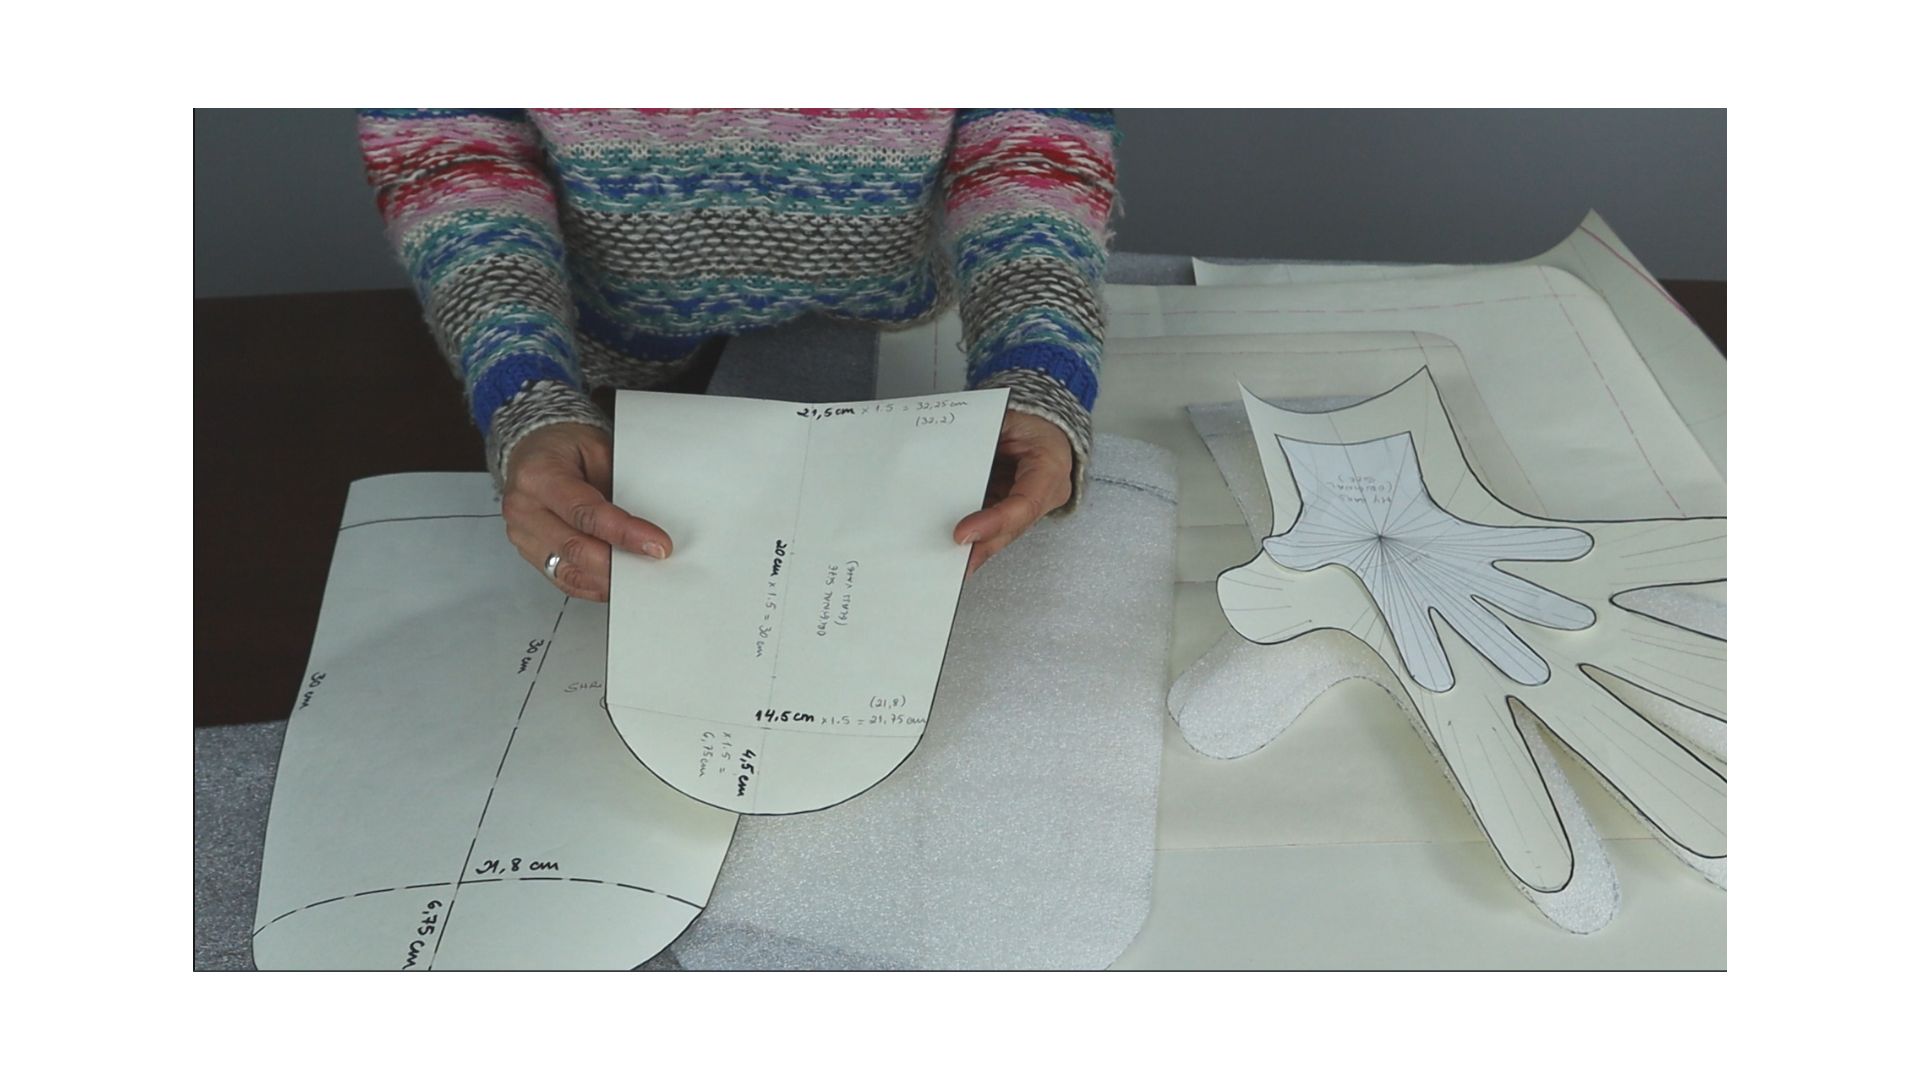
Create 3 templates:
- The original pattern drawn on paper. On this one you write: ‘original pattern’ and what you’ve drawn it from.
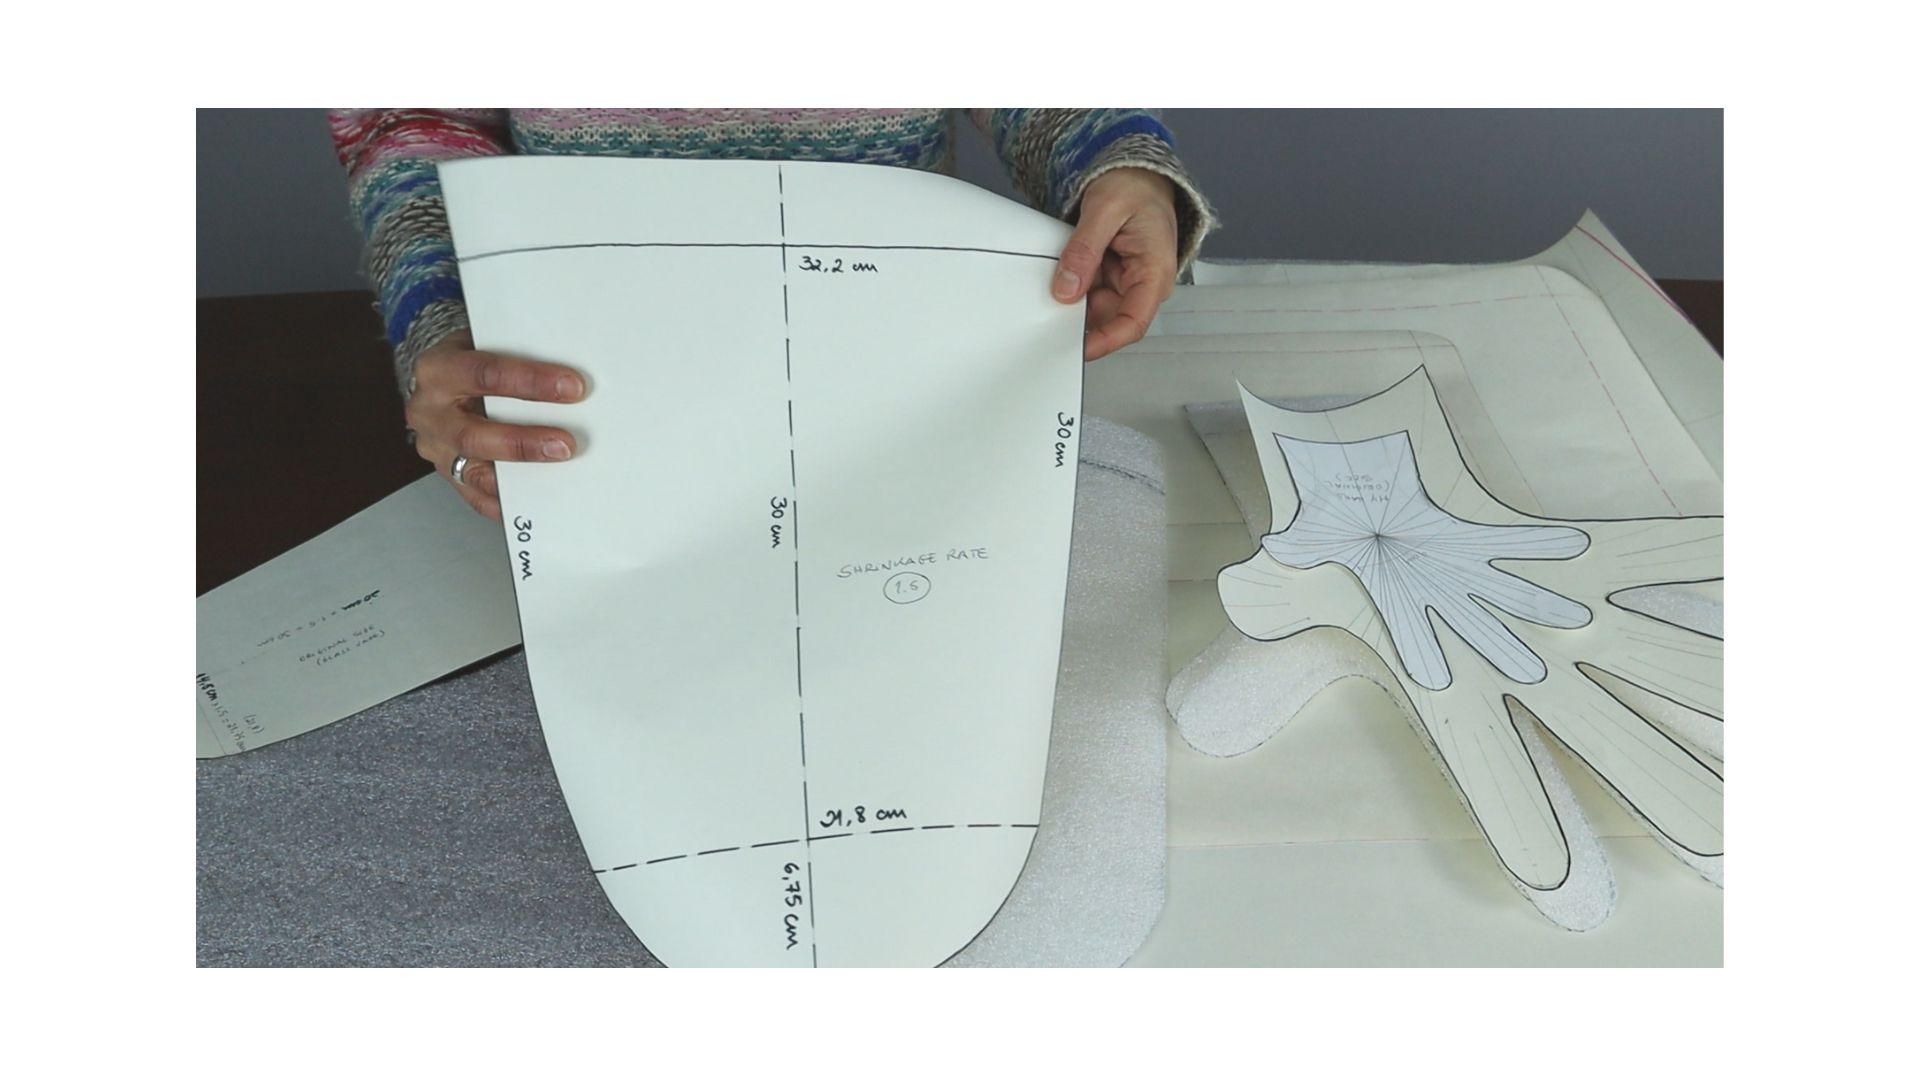
- The pattern you’ve enlarged according to your shrinkage rate, also drawn on paper. On this one you write: what you’ve drawn it from and the shrinkage rate. I recommend having this on paper because anything you write on your resist material will disappear when you felt.
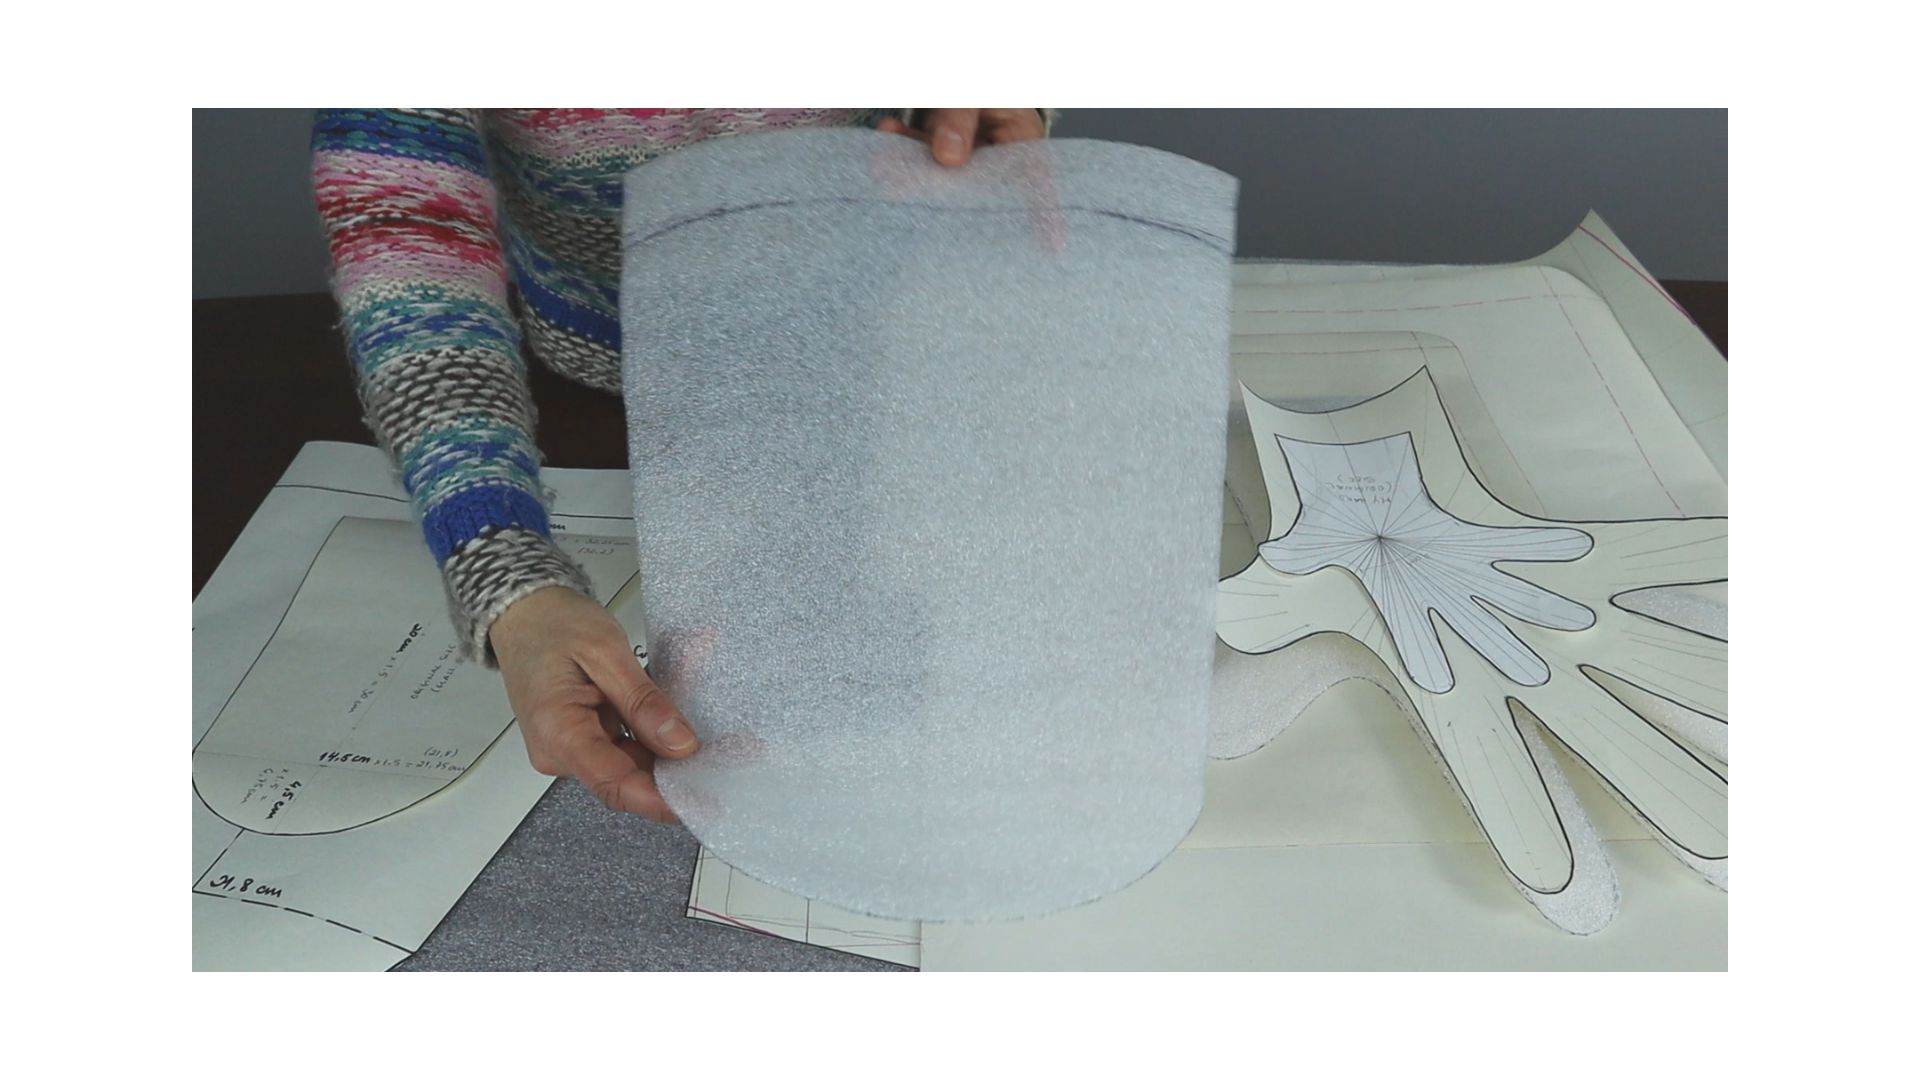
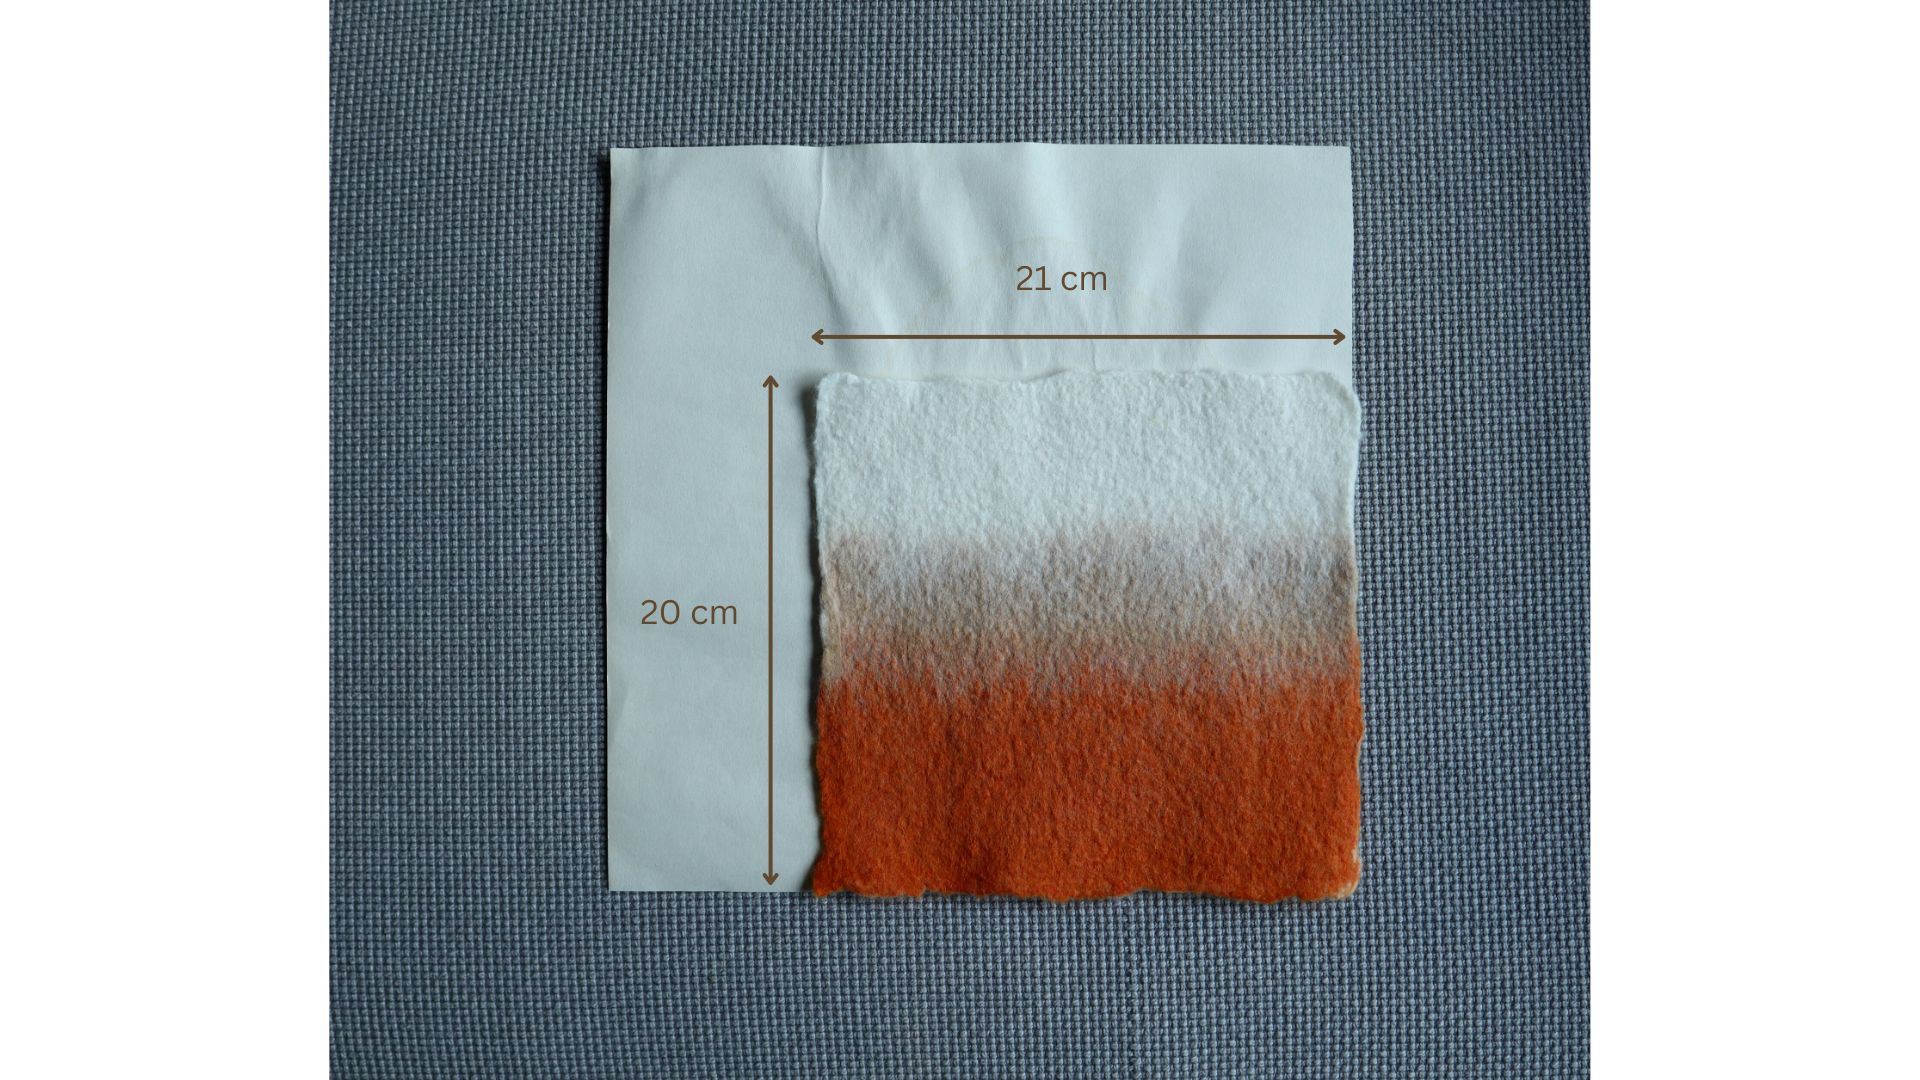
- The enlarged pattern in your resist material, which you’ll use to felt.
After you’ve finished felting, you pack these together. This way, when you look at them later, you know where they came from, you have the original and you know which shrinkage rate you used.
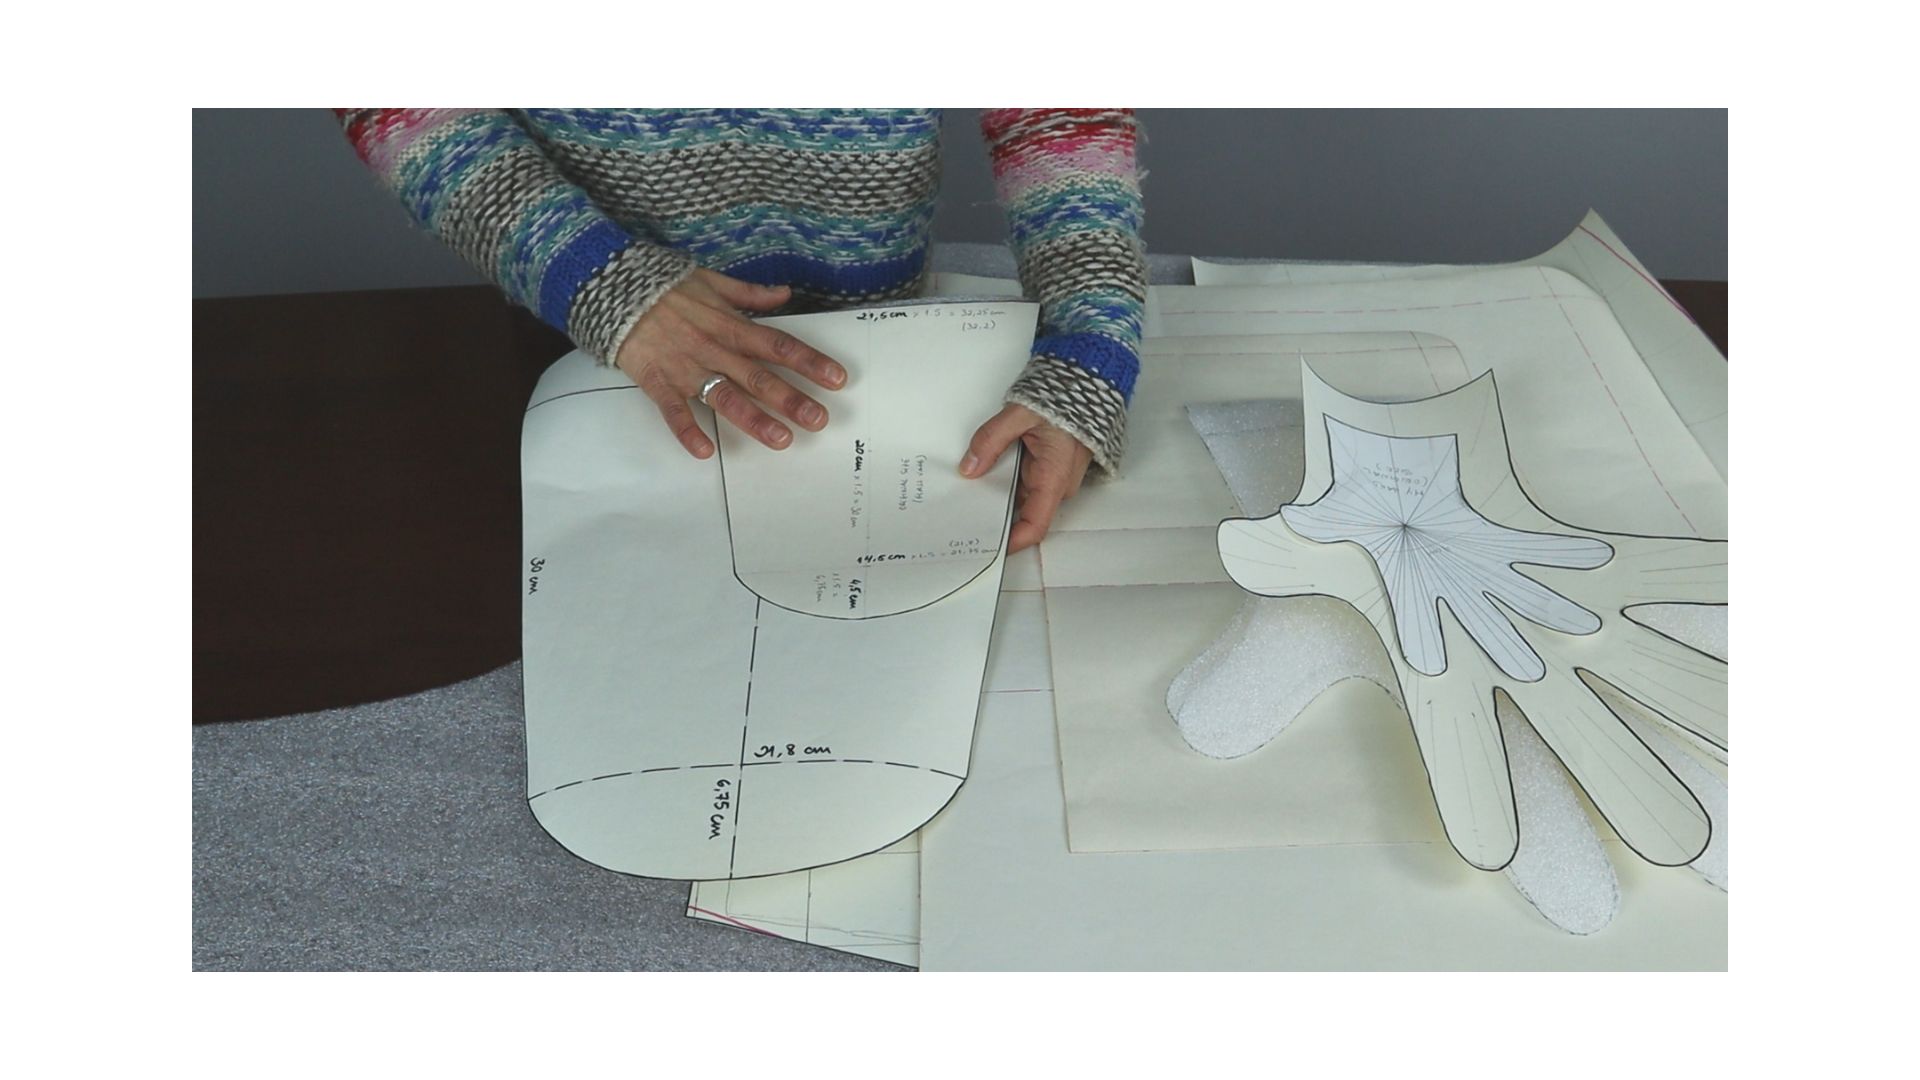
If you want to, you can even add the sample to this pattern collection.
Another advantage of keeping all these versions is that, if you later decide to felt the same project with a different fiber combination and a different shrinkage rate, you can use this original drawing, and apply the new shrinkage rate to create a new pattern. Then you can add that new pattern to these as well.
The original or base pattern can be used for several purposes:
- As a reference to control the final size during the fulling process.
- To create more resist patterns with a different shrinkage rate.
- To make changes. For example, the base pattern for hats can be used to create new patterns.
It might take you some time to get things organized. But, on the other hand, you’ll know what is what. And that’ll save you a lot of time AND work in your future projects.
P.S.: If you’re at the beginning of your wet felting journey, you might want to have a look at these blog posts:
Get fresh tips, video instructions, news about class registrations, as well as exclusive early bird offers directly into your inbox.
