The Dodo Blog
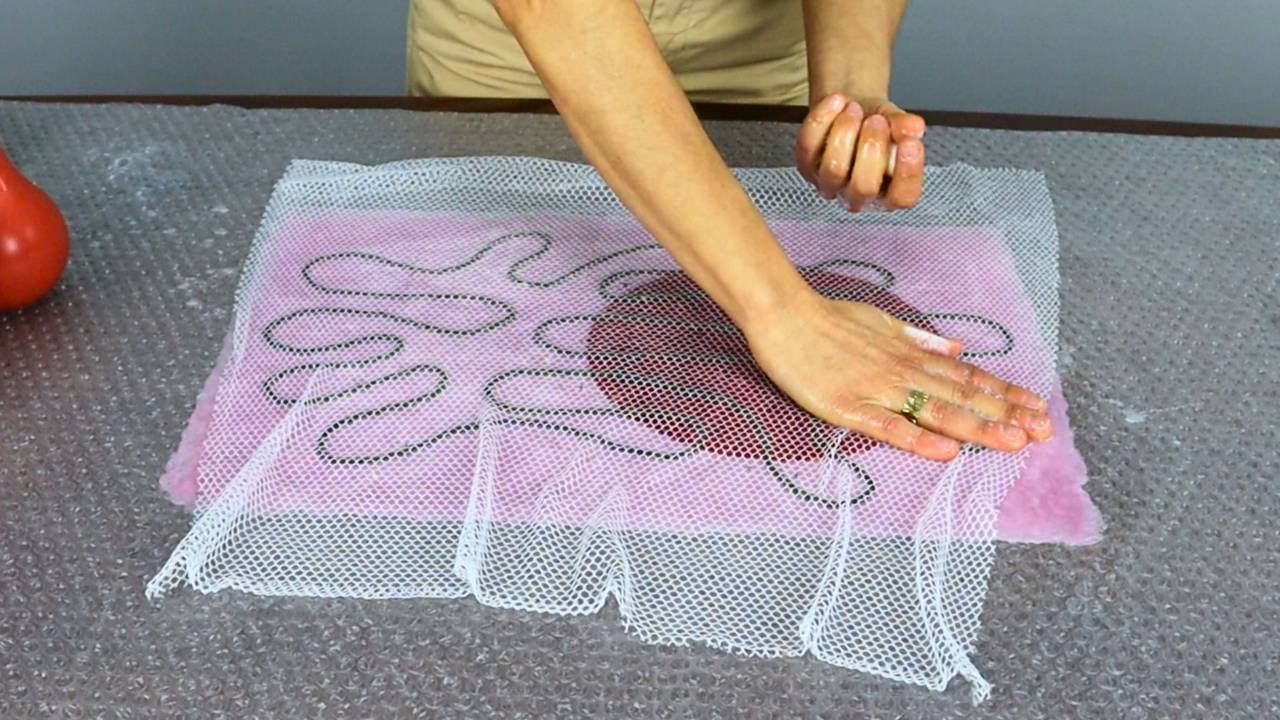
When you’re new to wet felting, the hardest part isn’t the techniques. It’s not knowing what actually matters and why.
Most beginners are shown steps to follow, but not the reasoning behind them. So, when something doesn’t work, you’re left guessing: Was it the wool? The soap? The water? The way I ...
Have you checked out what’s in the new class?
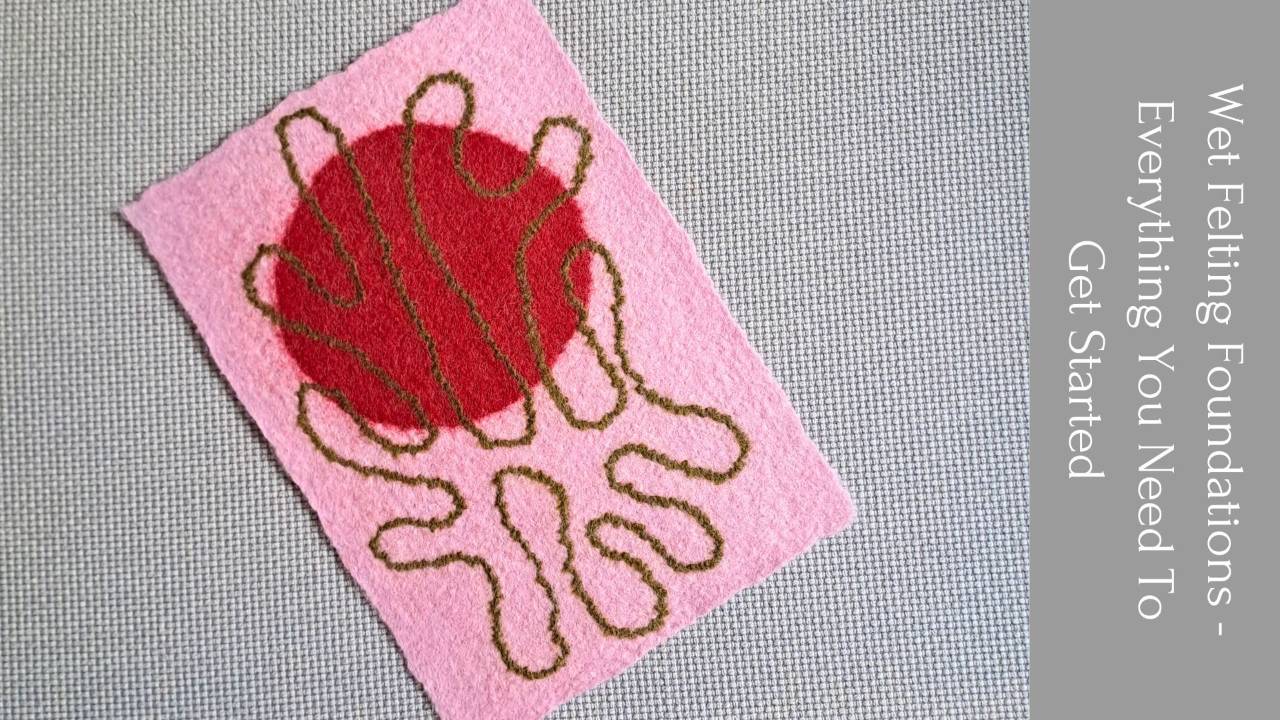
It’s called Wet Felting Foundations - Everything You Need To Get Started and it’s the first step in a three-part beginner pathway, created to help you build strong, reliable skills and grow into a confident intermediate felt maker.
The registration sta...
If you’ve been following me lately, you know I’ve been working on a class for beginner felt makers for some time.
So, I’m super excited to let you know it’s ready and available for registration.
As usual, as part of my inner circle, you have the chance to get it for the early bird price from today...
We start wet felting because we’re fascinated by the material and the possibilities of creating all sorts of things, from wearables to sculpture ✨💫
We see what others are doing, so we dream of what we’d like to create. But, let’s face it, wool can be stubborn, and the initial phases aren’t easy.
...
It’s finally here, the new format I’ve been mentioning for some time!
So, what is it exactly? If you’ve been following my blog or Instagram account, you’ve heard about THE DODO HUB for sure. Chances are you're curious about TDH and you’d like to know more about it.
Since it’s a one-year program, i...
After experimenting with wet felting for some time, learning the basics and maybe even felting some pieces on a resist, you may feel you’d like your felt to become more professional and well finished. Yet, you may also not know what to do to get to that next level of quality you’d like to achieve.
...In the last couple of weeks, I’ve been making big pre-felt sheets for a piece I’m working on. And every single one of them has given me problems felting.
This can happen for several reasons. It either has something to do with the amount of soap or water, or with the temperature. When this happens, ...
Easter is just around the corner. Here's an idea to make your Easter gifts extra special!
WHAT DO YOU NEED FOR THE BUNNIES?
That will depend on how many you want to make. So, I’ll just give you the list of materials for 4 bunnies like mine. You can adapt the colors and/or decoration to your ow...
Last week we had a look at how to felt thin cords the easy way. But what if you want to felt thicker ropes like the ones you use for bag handles? Are they made in the same way?
What do you do if your wool top isn’t thick enough?
How do you guarantee that no grooves form on the surface of the cord ...
This video is the first one of a new series, in which we’ll be looking into the topic of making cords or ropes in wet felting.
While it’s more geared towards beginner felt makers, I know that many more experienced people also struggle with this. During my years as a felting teacher, I’ve gotten man...

THE STORY BEHIND THIS PROJECT
I belong to a small felt club that gets together once a month via Zoom to felt in a group setting.
In our December meeting, the suggestion was that we create seasonal pieces. We usually felt 3D/sculptural items, and that was planned for December as well. But even thou...

I’m working on a new class that is meant to help felt makers go all the way (smoothly) from total beginner to intermediate. If you’ve recently started wet felting or you’ve been felting for a while, but still feel like there are many gaps in your knowledge, this may be for you.
But I’ll need some t...
