The Dodo Blog
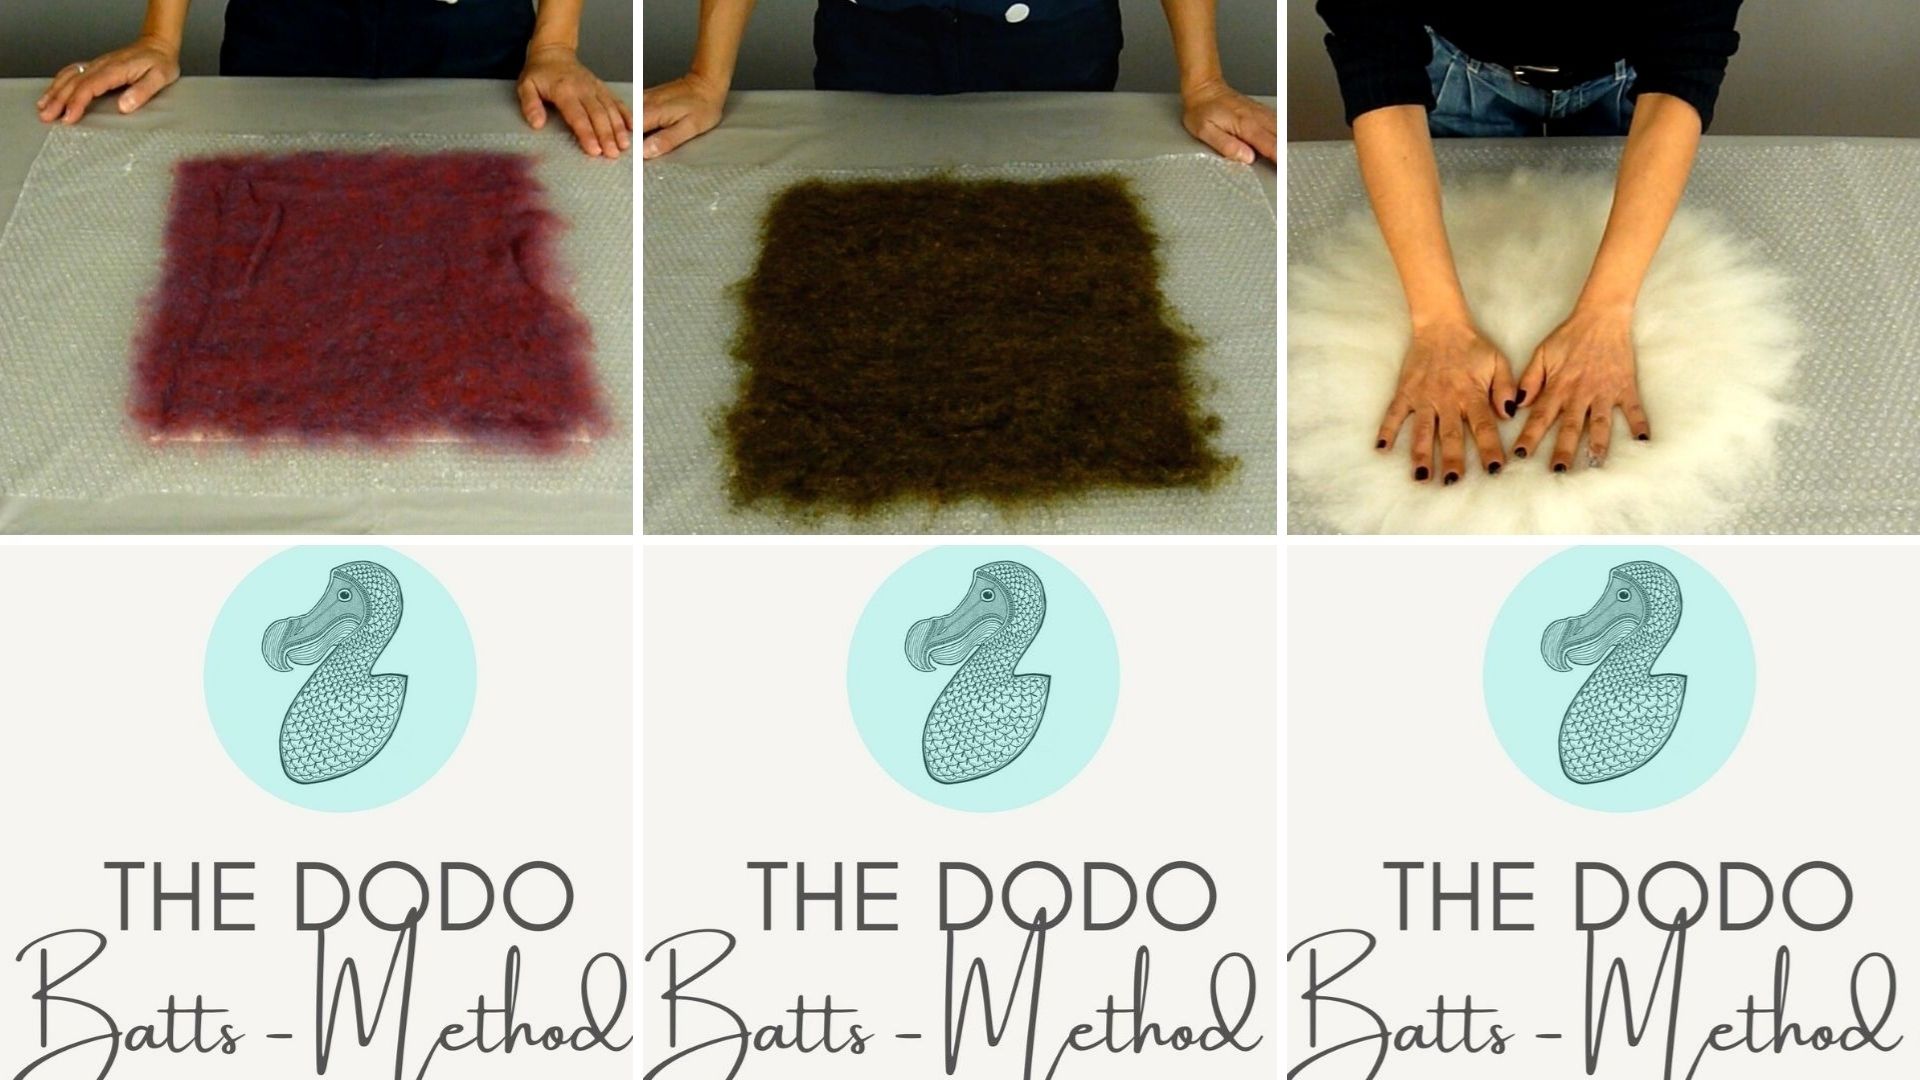
Wet Felting Demonstration: 3 Layouts For Batts
I’m really excited about this week’s topic because I find there aren’t many wet felters exploring it. And that’s the usage of batts for wet felting.
Batts are more commonly used in needle felting, but they’re definetely worth exploring in wet felting too.
When applied right, batts can:
- save you so much time and effort, since the layout is a lot less laborious than it is for tops
- help you achieve a more even layout
Also, if you're open to wet felting with batts as well as tops, you'll have a wider choice in colors, since often suppliers have a different color palett for batts and tops. And, in my experience, they produce a felt that is a bit different from the one made with tops: less shiny but smoother.
These are 3 new lessons about 3 different ways to lay wool batts, when to use them, as well as the advantages of working with them.
So, if this is something that sparks interest for you, you can access this week’s lessons by signing up for the Free Felting Membership, The D...
New Free Felting Membership
Yes! That's right. I've been working on a free felting membership and it's now available for you to enjoy :)
You see, I’ve been blogging and vlogging about wet felting for over a decade. And what I’ve noticed is that in those formats, it’s easy to lose track of what I’ve already covered since the information is scattered everywhere.
I also wanted a place where you could ask me questions in a way that other felters could also benefit from the answers. So, after considering the pros and cons of the different platforms, I decided this would be the best way to have everything under the same roof.
It's called The Dodo Sandbox because it's a place for you to play, experiment and grow your felting skills :)
The membership area is divided into the “core training” and different chapters or modules, each dedicated to a different topic. When you enter the members’ area, that’s exactly what you see.
Of course, I’ll be creating new modules about other topics as I see what your needs are. And...
10 Ideas For Nuno Felting Exercises
Last week I did a short introduction to nuno felting, on how to choose the right materials and a couple of other tips to help you start experimenting with the technique.
Today, I’d like to show you some examples of samples I made before I decided to felt a bigger piece, what materials I chose for them and what went right/wrong.
I’d like to start with the samples where the wool covered the whole fabric surface, just because I find it an easier way to start than just applying stripes, dots or any kind of other motives on the fabric, since the smaller the area that the wool covers, the more difficult it is to make it attach properly to the woven surface.
Sample 1 – This is probably the easiest of them all to get good results. I used an extra-fine green merino and a white cheese cloth for this. Since this type of cloth has a very open weave, the fine merino fibers have no problem attaching to it. I find it produces a very interesting surface, that could look great on a piece of clothing...
How To Make A Sample To Determine The Shrinkage
Hi there!
I´ve often been asked how do you make a sample to determine the shrinkage factor in wet felting. Well, that’s exactly what I’ll be covering in today’s video.
It’s actually very easy. You should make a sample, and measure it before and after felting.
There are three fundamental factors to take into account though:
- Use the same type (or types) of wool for your sample and project, since not all wool types have the same shrinkage.
- Use the same number of layers and equally thick ones for your sample and project, since the thickness of the layers influences the shrinkage.
- Felt the sample and your project to the same degree, since the more you felt, the more the piece will shrink.
Check out the video and let me know if I’ve covered all your questions!


