Fiber Layout In Wet Felting
Jul 11, 2018Hi!
As you might know, I’ve been asking you to send me the biggest questions you have on wet felting. I’ve received a bunch of them and I’ll be working on the different topics in the next weeks.
Some of them are great for the free videos and I got suggestions for new courses as well. So, thank you again!
I’m going to start with the ones that are common problems to a lot of people. Today I have a great topic.
I don’t know who it’s from because it came from an anonymous survey. But it’s definitely a common one. And the question is
“How important is the thickness of the fiber layers when making something like mitts? Is it better to do thin or thick pieces?”
No matter if we’re talking about mitts, clothes, hats or bags, my answer to this question would ALWAYS be the same.
FIRST – YOU decide on how thick you want your piece to be.
This will depend on
a) the type of climate you’re making it for
b) how stiff or soft do you want your piece to be.
Let me give you an example, so that you understand what I mean. These are 2 hats I’ve made years ago.

One weighs 180 grams and the other weighs 60 grams. That’s already a clue to the amount of wool and the thickness the piece has.
Here we have a really thick winter hat. I call it a “helmet hat”.

It’s lost its shape a bit because I’ve kept it in a box for a long time. It’s folded but let me open it up and show you how thick it is. Ok, let me fold it again… So, this is a very thick winter hat.
And this is a spring hat. It’s a very, very light spring hat.
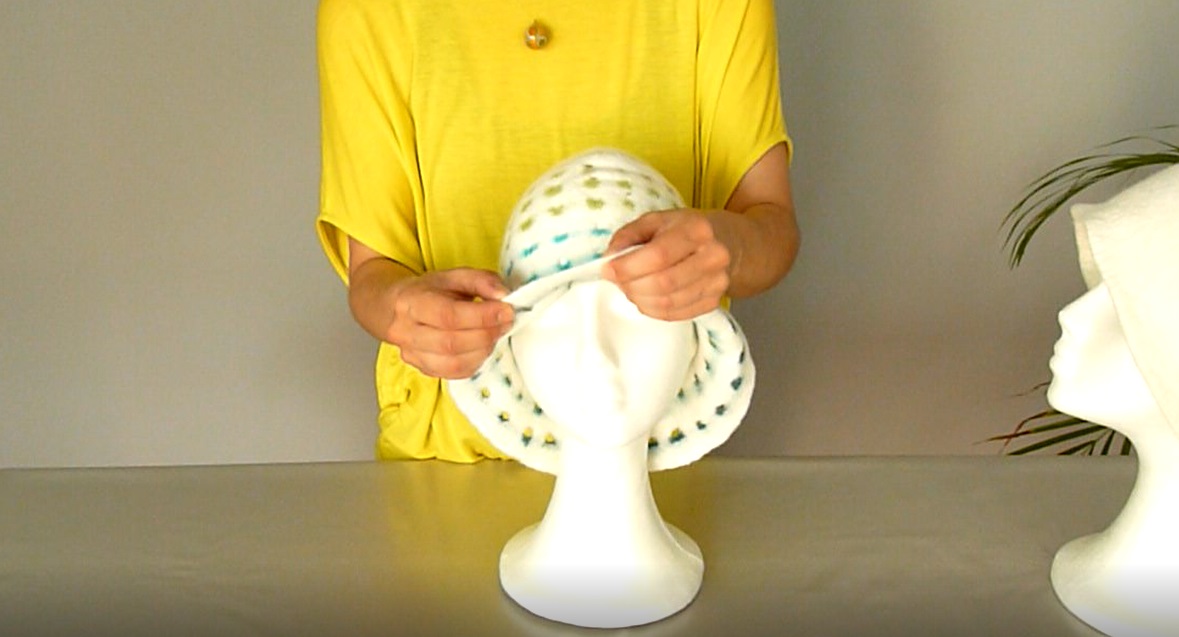
It has holes in it and it’s extremely thin. So, let me take it off and show it to you. As you can see, it’s just thick enough to have stability.
So, back to the question “How thick should the piece be?”
Well, as thick as YOU WANT IT to be.
Do you want a winter piece or should it be for spring? Or, if we’re talking about a handbag, are you looking for something more decorative and light or do you want a thick handbag to carry weight? And it’s the same with the mitts. I’ve seen really thin, elegant mitts made in felt, but I make mine pretty thick because they’re meant for cold, snowy weather.
So, this is completely up to you. There are no rules here.
SECOND – Now this is where the “rules” come in. The important thing is to lay the wool correctly to achieve a solid and resistant piece of felt. This is the key for a successful felt piece.
So, how do you do that?
a) No matter if you’re working with wool batts or roving. ALWAYS make sure you LAY YOUR WOOL IN A UNIFORM MANNER. I have 2 videos about how to correctly lay wool batts or roving. You can find the links below.
b) It’s better to opt for thin layers, but more of them.
For example, make a thick bag with 6 thin layers instead of 3 thicker ones. This makes the structure much more resistant. Remember that felt is a NON-WOVEN MATERIAL.
WHY is this important? Because a woven material has the warp and weft that give it the resistance.

But felt doesn’t. So, we recreate it with the horizontal and vertical laying of the fibers. And the more layers, the stronger the felt. But remember to keep the layers thin.
FINALLY – As a general rule, make a sample before you start felting anything.
I know that you want to get to it and start making your piece. Making samples takes time. I get all that.
I sometimes resist doing it as well. But, I work mostly with 2 different types of wool, so I already know how they behave and what the right thickness is for the piece I’m making.
If you change the wool type you work with often, then you have to get to know it first. And – even if it might seem counterintuitive – the quickest and cheapest way to get to know a new type of wool is to make a sample. I really can’t stress this enough.
I have people asking me how they can solve a problem because their wool isn’t felting, but they’ve already invested a lot of time and money on a big piece that they can’t finish. And that’s frustrating. So, please make a sample before you start felting.
Ok, so just to sum it up:
- Decide how thick you want your piece to be according to the climate or the function it’s meant for.
- Make a sample to determine how many layers you’ll need and how much the wool will shrink. You might need more than one to test different thicknesses.
- Remember to work with thin layers and add more of them if necessary.
Ok, so this was my answer to this question. I hope this helps!
If you still have questions around this, please leave them in the comments below. I always answer them.
I’ll talk to you soon!
Links mentioned in the video:
Felting sheets with wool batting
Felting sheets with wool roving/tops
Get fresh tips, video instructions, news about class registrations, as well as exclusive early bird offers directly into your inbox.
