The Dodo Blog
If you use a sander for wet felting, you're probably placing it on the fiber not longer than 10 to 15 seconds. Am I right?
But have you ever wondered why? And what would actually happen if you left it on for longer?
I had the same question, and so did one of my students. I confess I’ve only bee...
Last week, we had a look at the reasons why a sander can be such a useful tool for wet felting, especially for nuno felting and embellishing with viscose fiber. We also spoke about what to look for when choosing one.
This week, we get into the issue that makes most felt makers nervous: how to pr...
Nervous about mixing water and electricity? I was too!
I've been wet felting for a long time, but it took me until three years ago to finally try working with a sander. And honestly? I wish I hadn't waited so long.
Is it worth it?
Not for every project. But for nuno felting and felting with vi...
Today I'd like to talk to you about my new wet felting program. It's open for registration for another couple of days.
I created it for advanced beginners or intermediate felt makers:
- If you're feeling like you'd like to make progress, but you don't know how
- If you'd like to improve the quality ...
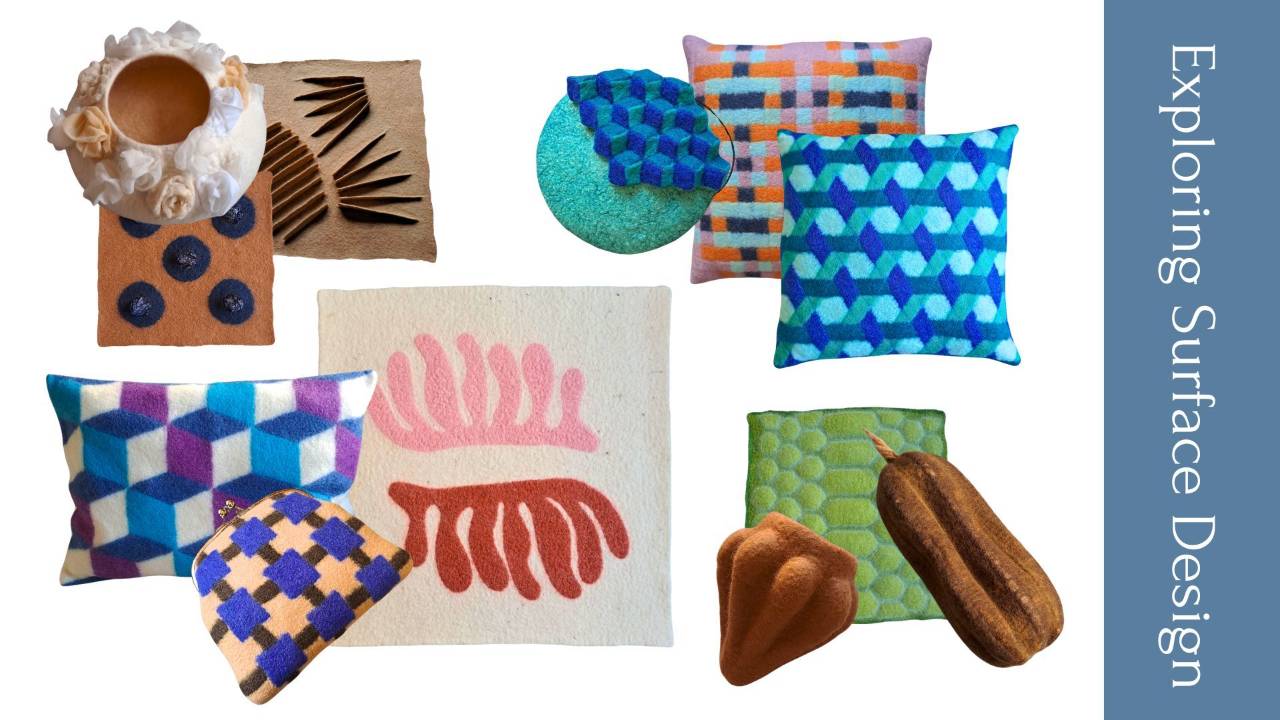
My new online program, Exploring Surface Design, is now open for registration until April 6th.
This program grew out of the evolution of The Dodo Hub into three shorter, more focused trainings. And this one is dedicated entirely to surface design.
If you’ve ever felt that your surfaces could be mo...
When you’re new to wet felting, the hardest part isn’t the techniques. It’s not knowing what actually matters and why.
Most beginners are shown steps to follow, but not the reasoning behind them. So, when something doesn’t work, you’re left guessing: Was it the wool? The soap? The water? The way I ...
Have you checked out what’s in the new class?
It’s called Wet Felting Foundations - Everything You Need To Get Started and it’s the first step in a three-part beginner pathway, created to help you build strong, reliable skills and grow into a confident intermediate felt maker.
The registration sta...
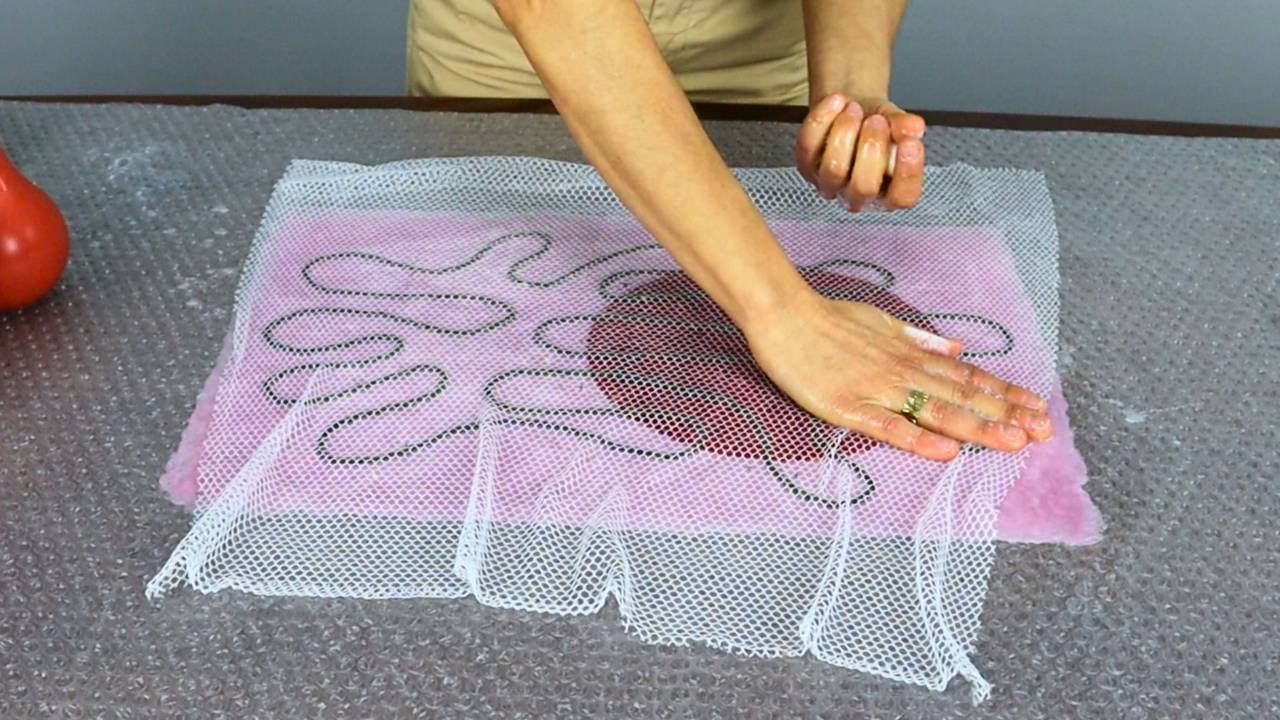
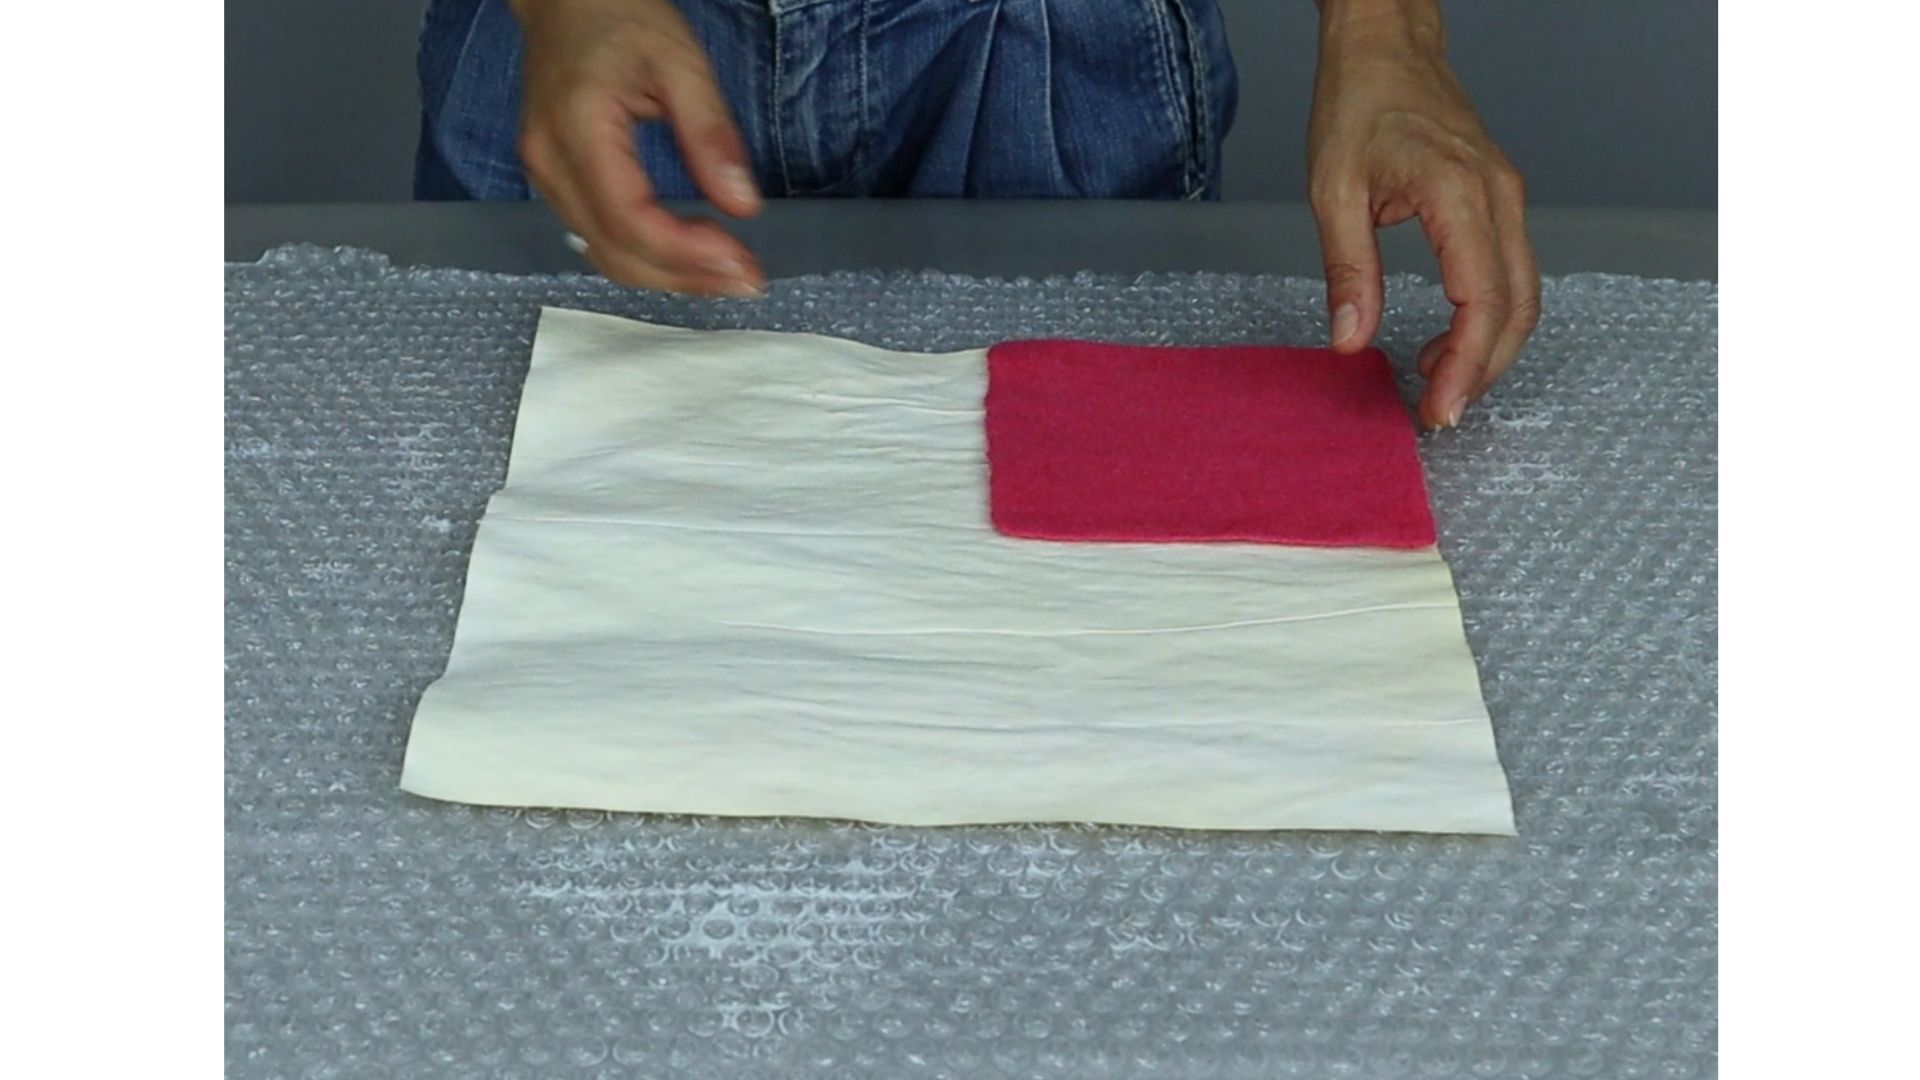
Did you know that it’s possible to wet felt without soap? It’s not very common. Most felt makers use soap to felt, but there are some who don’t.
Because I’m curious and I like to test everything, I decided to make a small sample to see how it works. You never know. Sometimes you do something in a c...
Felting and fulling methods. You’ll see different felt makers using different ones, and this may have raised the question for you: Is it really that important which ones you choose to use? I mean, they all produce felt, right?
Well, yes, I guess that’s right. But choosing the right felting and full...
Today, I want to talk to you about something that makes felt makers a little bit nervous: the S word. SAMPLES!
While I know most of us would do anything to avoid making samples before we felt a piece, I’m – once again – going to try to persuade you to make them.
Now, when we talk about making sa...

If you’ve been waiting for the registration to THE DODO HUB to open, I’ve got good news. You can now sign up here.
WHO IS THE PROGRAM FOR?
You’ve been a felt maker for some years now, but …
- you feel like you’ve reached a plateau, and you don’t know how to develop your work further;
- you wan...
Is there anything more discussed in wet felting than how to get the shrinkage you want? I don’t think so. And it’s kind of obvious, isn’t it? I mean, if wool felts by shrinking, we need to know how much it’ll shrink. Right?
The problem is so many factors influence shrinkage. So, it can all feel ove...
