The Dodo Blog
You know, ... I noticed that offering these two classes together was a mistake.
I thought that people would enjoy having two projects in one class, especially because they’re made with completely different techniques.
Even though these are not the easiest shapes to create, there are several ways t...
I've been thinking about this for a while, and I've finally made a decision.
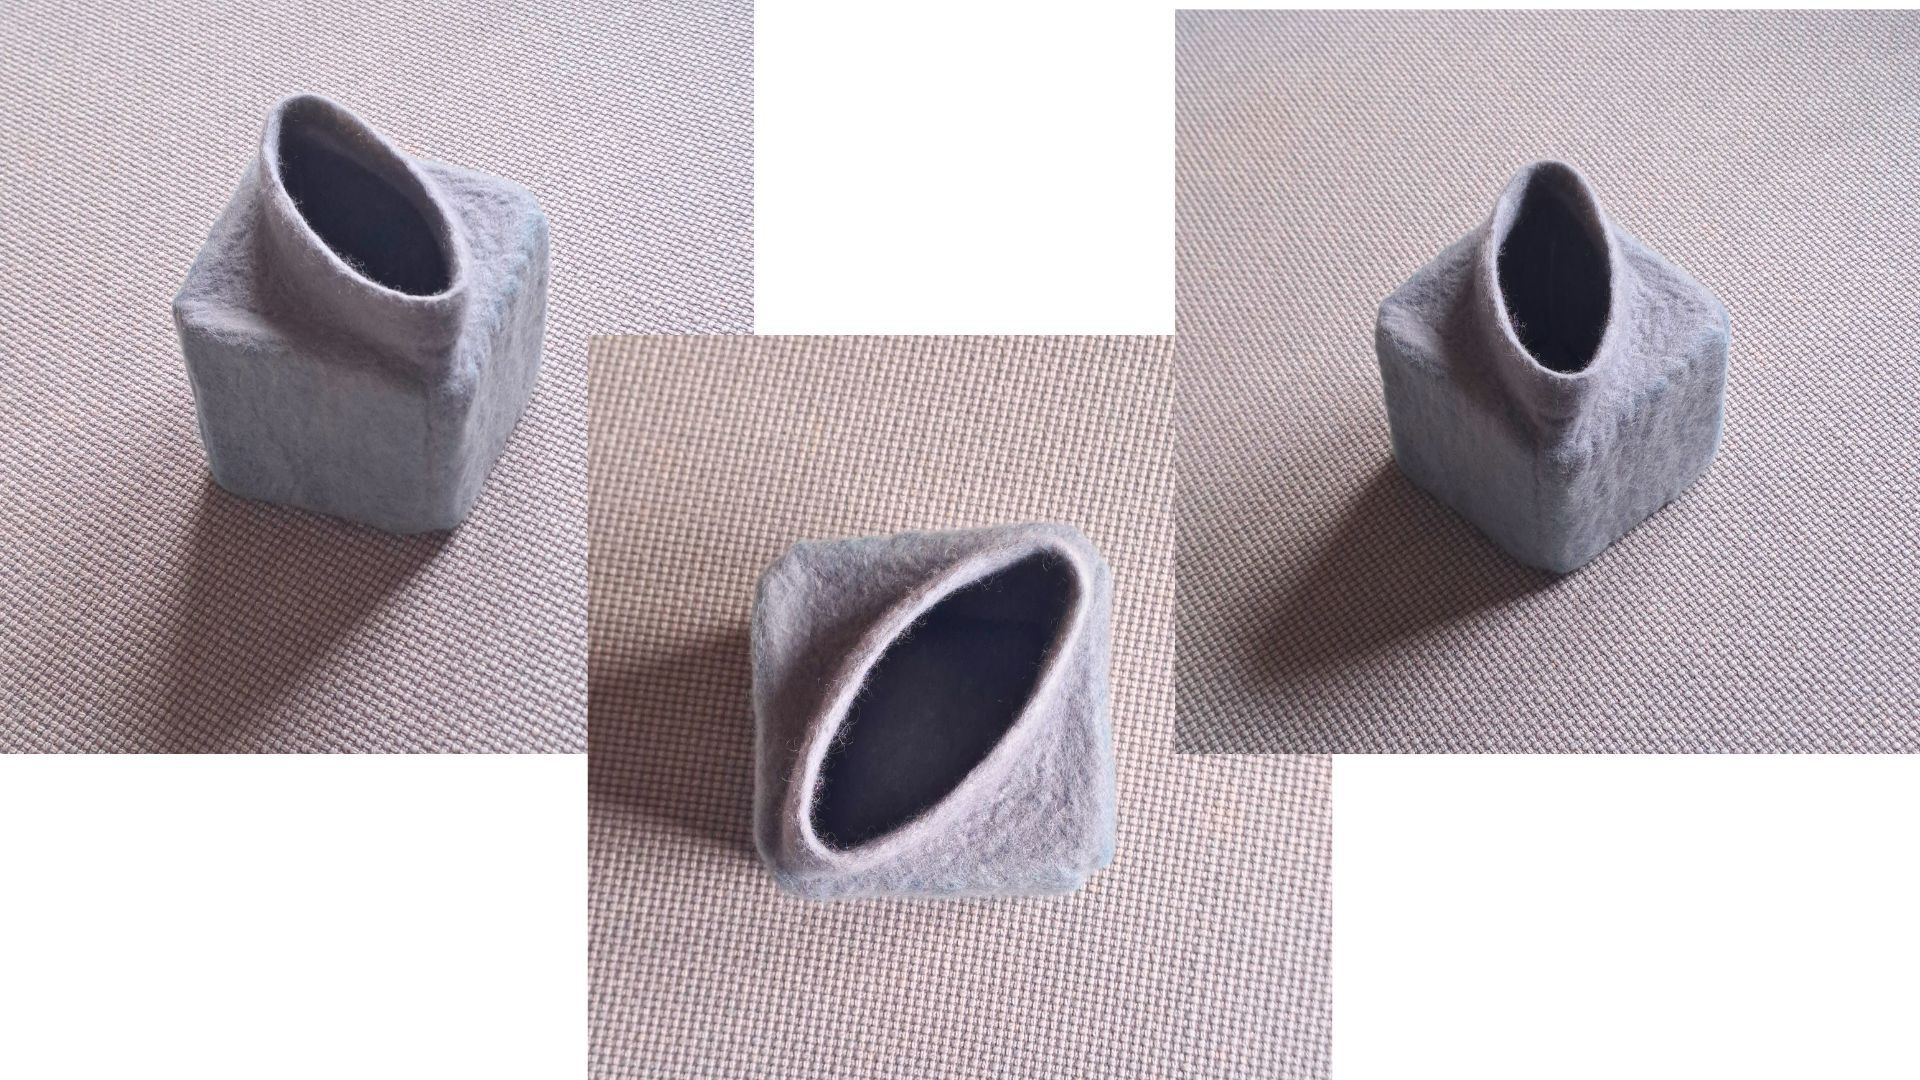
FELTING CUBIC SHAPES has always included two projects: the nested cubes, and the structured “paper bag”. Two very different challenges, united by the idea that felt can also hold a sharp edge.
But what I've noticed ove...
Today I'd like to talk to you about my new wet felting program. It's open for registration for another couple of days.
I created it for advanced beginners or intermediate felt makers:
- If you're feeling like you'd like to make progress, but you don't know how
- If you'd like to improve the quality ...

Looking for a new creative challenge?
I’ve got you covered!
Until Sunday, October 5th, get the class STAR ANISE SEED POD for only 99€. That’s 30€ off the regular price!
This is an exclusive offer for newsletter subscribers. So, if you’re on the email list, please check your inbox for this special...
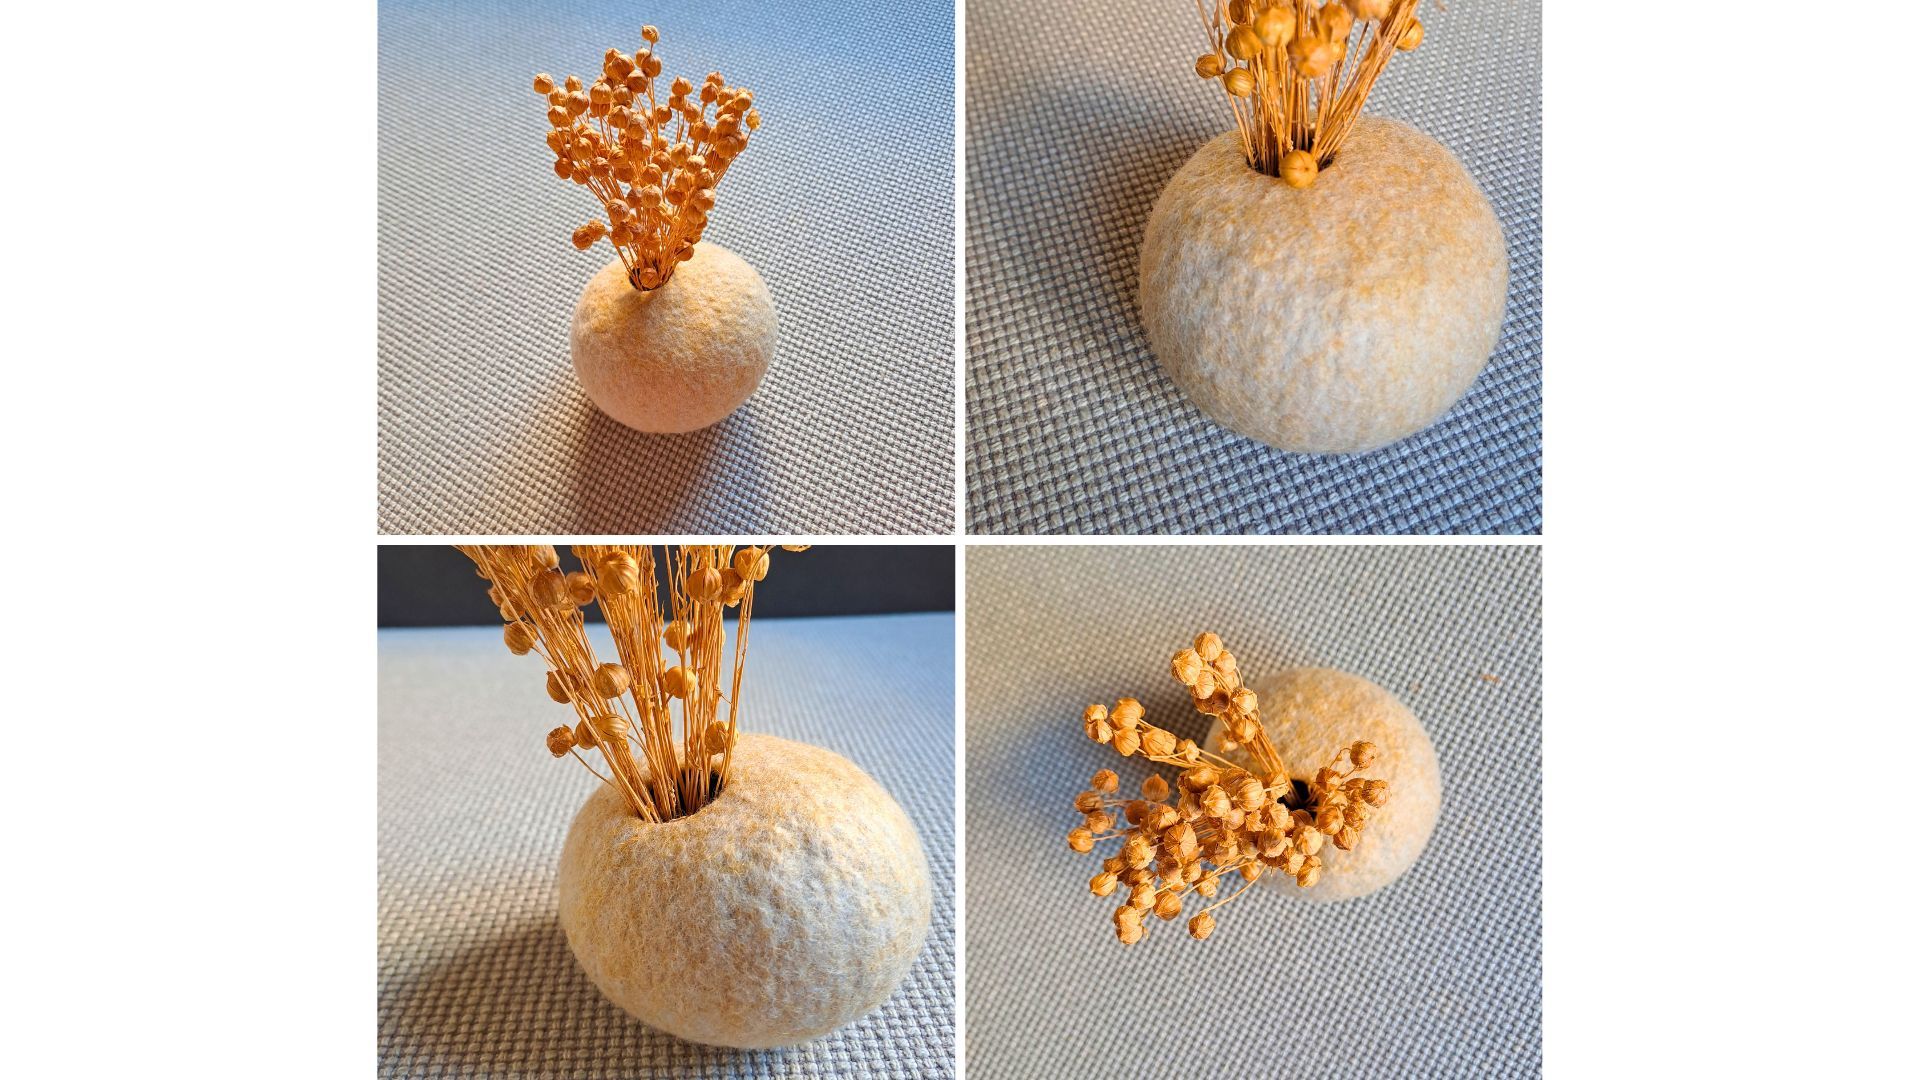
We’ve started a little tradition in The Dodo Hub: once a month we hop online and felt together. Lately, the challenge has been about the circle. We grab a round resist, and experiment with the techniques from the program.
You can felt anything you’d like to try, as long as you start with that circl...
Today, I want to talk to you about something that makes felt makers a little bit nervous: the S word. SAMPLES!
While I know most of us would do anything to avoid making samples before we felt a piece, I’m – once again – going to try to persuade you to make them.
Now, when we talk about making sa...
If you’ve been waiting for the registration to THE DODO HUB to open, I’ve got good news. You can now sign up here.
WHO IS THE PROGRAM FOR?
You’ve been a felt maker for some years now, but …
- you feel like you’ve reached a plateau, and you don’t know how to develop your work further;
- you wan...
After experimenting with wet felting for some time, learning the basics and maybe even felting some pieces on a resist, you may feel you’d like your felt to become more professional and well finished. Yet, you may also not know what to do to get to that next level of quality you’d like to achieve.
...
I frequently get emails from felt makers asking me if they can purchase only the patterns for my baby booties. When I taught how to make slippers, I was often asked if I’d sell only the patterns for the slippers.
I opted for never offering the resist patterns, the reason being that I’m for teaching...

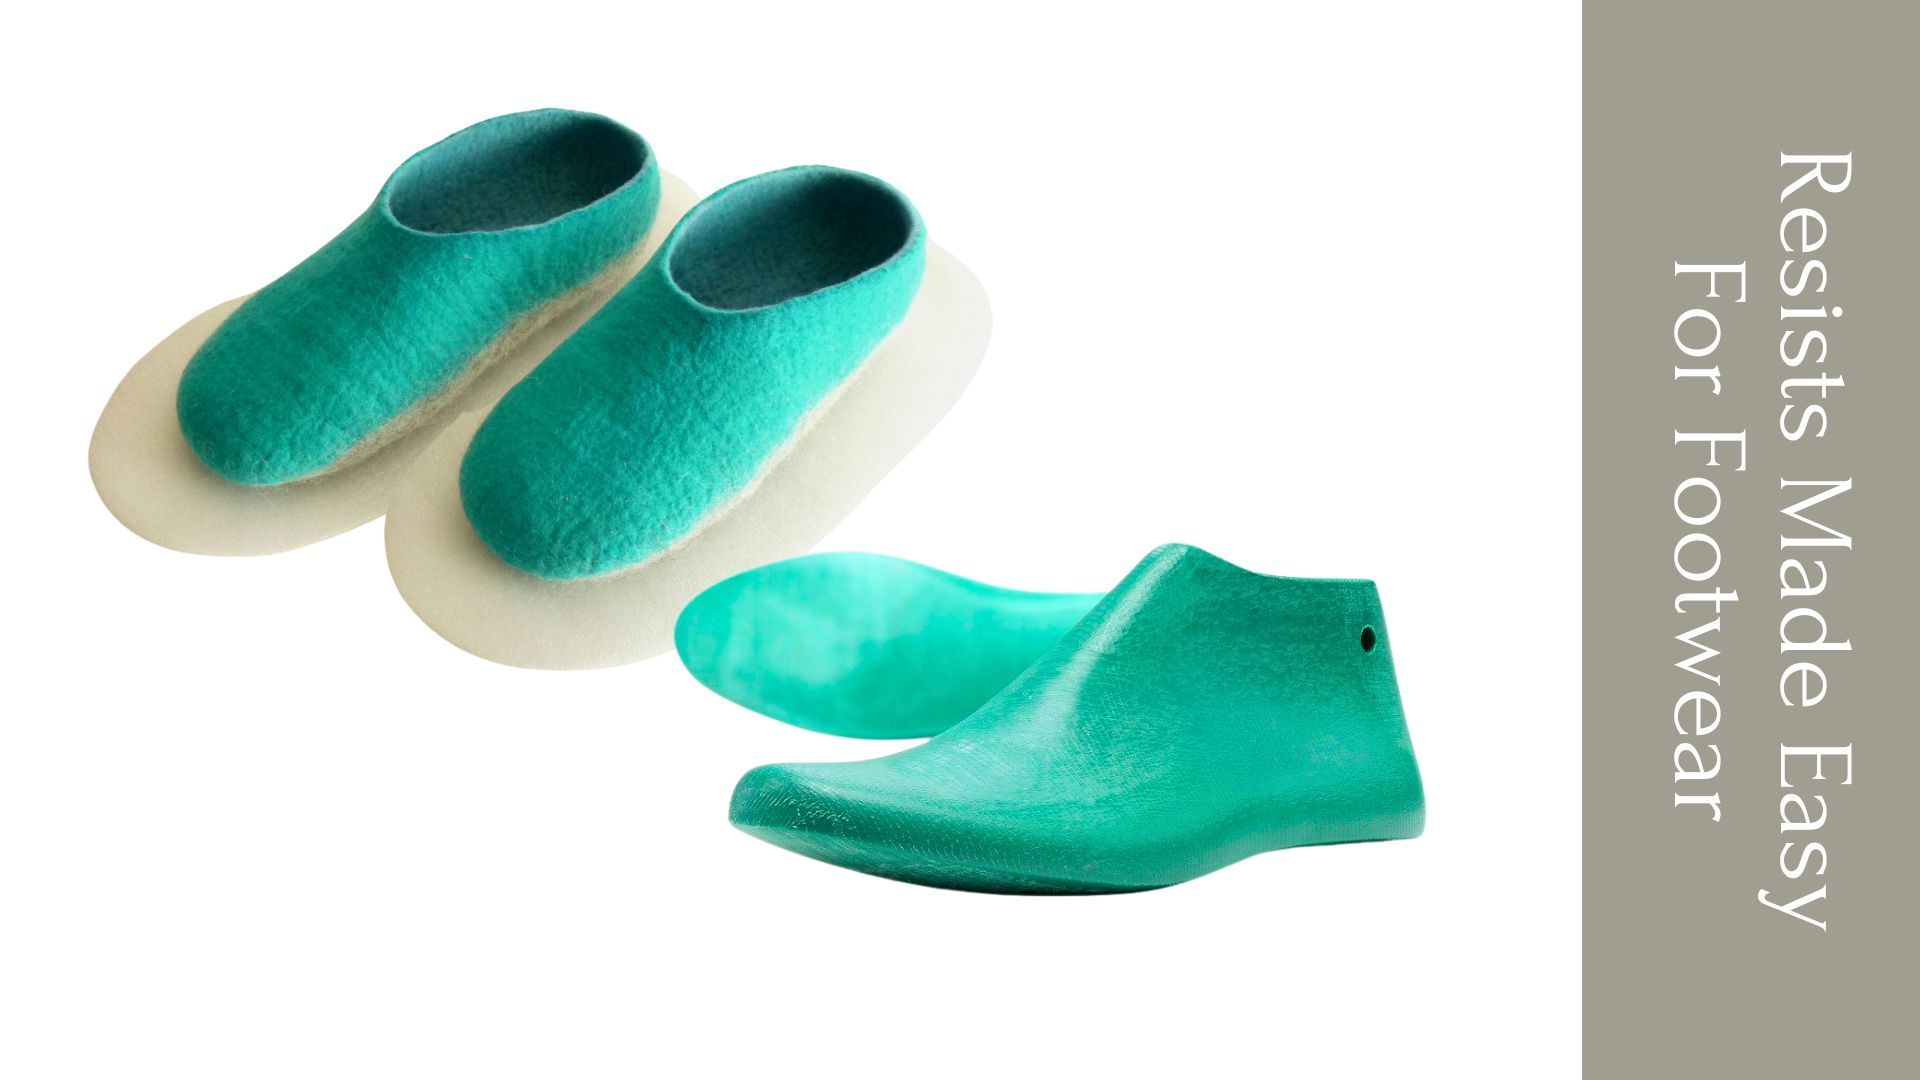
About two years ago, I taught a class called RESISTS MADE EASY – A PROVEN SYSTEM TO DESIGN RESISTS FOR WET FELTING.
It covered how to make resists for shoes, clothes, hats, bags, gloves and vessels in all sorts of shapes.
It was well received and fun to teach. But, next, I started focusing more on...
So you had a look at the program, and now you’re thinking “Yes, one technique a month. But what do we really felt inside THE DODO HUB?”
I get that it may not be totally clear to you, so let me help you with that.
First, above there's a short video of some of the beautiful pieces made by the partic...
If you’ve been waiting to enroll in THE DODO HUB, I’ve got good news! The registration is open as of now.

Are you new to the DODO world, and not sure what THE DODO HUB is?
- It’s a comprehensive year-long program designed to take you from the intermediate level to an advanced and independent ...
