Easter is just around the corner. Here's an idea to make your Easter gifts extra special!Â
Â
WHAT DO YOU NEED FOR THE BUNNIES?
That will depend on how many you want to make. So, I’ll just give you the list of materials for 4 bunnies like mine. You can adapt the colors and/or decoration to your own taste.
INSTRUCTIONS
Start by making the pre-felt with your wool of choice. I can’t say exactly how many layers you need, since that’ll depend on how thick you lay your wool. But 4 should do if you’re working with thick layers.
Cut 2 bunnies in pink and 2 in brown. You’ll need...
THE STORY BEHIND THIS PROJECT
I belong to a small felt club that gets together once a month via Zoom to felt in a group setting.
In our December meeting, the suggestion was that we create seasonal pieces. We usually felt 3D/sculptural items, and that was planned for December as well. But even though we work on a certain topic each month, we do have much creative freedom in the group. So, this time I thought of doing something slightly different.
I have tons of felt leftovers from many projects along the years, and I wanted to do something seasonal by recycling what I already had, instead of producing something entirely new. These bits accumulate with time, and it bothers me to see so much material not be used.
So, I gathered the thicker white felt leftovers (some of which was Nuno felt, which made it even more interesting), as well as some fun “Christmassy” templates I also already had from past projects. And, without having a clear initial idea, I started cutting the flat felt i...
If you’ve followed my work for some time, you’ll know that something I constantly mention is how I like to teach in a way that empowers you to develop your style and explore your creativity.
I see no point in just showing you how to felt an object. When I’m developing my courses, my goal is always to go into the details and the reasons why I’m using a particular technique. That way, you can apply what you’ve learnt in a different project, so you’re free to develop your own designs. That allows you to grow way beyond the methods taught in a tutorial.
That’s one of the reasons I was so happy when I got an email from Audrey Petzold a couple of weeks ago. Audrey bought the tutorial “Felt Food – Fruit” last April and she wanted to know if the basic procedures I used for making the toy fruits could be scaled up to make life size fruits.
I told Audrey it was perfectly possible, and that she just had to make sure that the inner layers were felted enough to apply the next ones. Basically, al...
Today I’ve got a fun tutorial that shows you how to wet felt a ball necklace for children. It’s called Kid’s Dots, and it’s a piece I’ve sold for a long time. Now you get to see how it’s done (for FREE) 🙂
I decided to film this project because Stacy Tavassoli from Truly Majestic invited me to create a tutorial for her arm knitting community. Arm knitting is done with big amounts of wool roving, the same we use for wet felting. But it produces lots of scraps that you can’t use for knitting any more.
So here it is for you. It’s an easy tutorial, which is great for beginners. You won’t need much equipment. Actually, you probably have everything you need at home already. And it shows you 10 tips that are useful for other felting projects.
I’d love to see how your necklaces turned out, so click here to send me your photos 🙂
Have fun!
Â
P.S.: The special Mother’s Day Pack is a 2 for 1 pack for crafty moms, that is only available until May 10. Check out this exclusive offer!
Â
No matter if you’re just starting out or if you’re an experienced felt maker. Whether something goes wrong with a project or you’ve made a pre-felt and didn’t use it all, there are always felt rests. Mine keep increasing! I have lots of bags with pieces in all colors and sizes. And I tell everyone who’s ever attended one of my workshops not to throw anything away. The way I see it, wool is too precious to land in the garbage bin.
But, of course, what’s the point in collecting them if you just keep having bigger bags? So, here’s an idea of a sweet and easy project you can make with something like a bag that went wrong (I have lots of those too). All you need is a piece with 10 to 12 cm, depending on the template you choose.
Here are a couple of shapes I suggest. I used to make keyholders and magnets like this. They can be sweet and original gifts!
And these are some of the pieces I have in those bags I was talking about ? Draw a silhouette you like on a piece of cardboard. Just m...
Hello!
Now that Christmas is just a month away, I’m sure you’ll be thinking about the presents for your family and friends by now.
So, I decided to bring you a simple, but really sweet idea, that you can make for a child. And it's FREE!
Think of it as a Christmas gift for you.
Enjoy!
Hi!
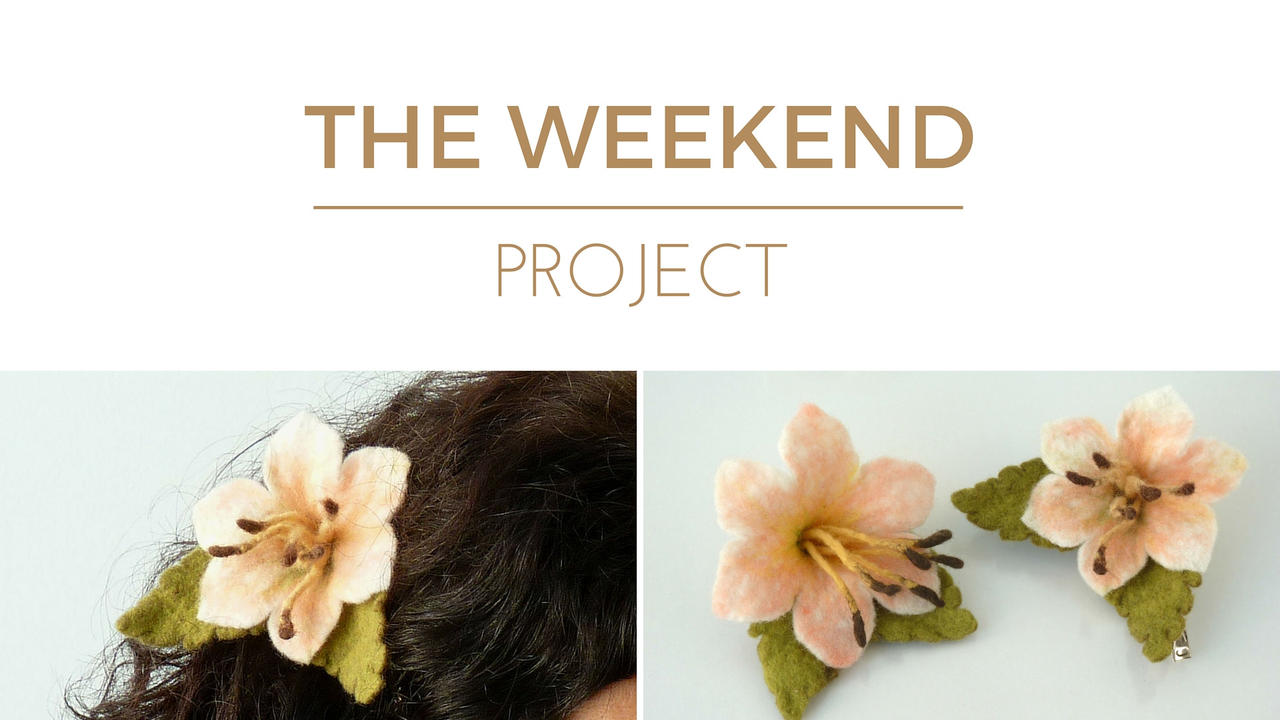
I´m very excited to announce my new video series. It’s called The Weekend Project and it’s designed to bring you inspiration to dive into easy-to-do textile projects, that you can start and finish during the weekend. I thought you might like something to decompress from the stress of the week.
The first episode is on how to wet felt a flower brooch or hairpin, that can even make for a great gift for a friend. And the best thing is YOU DON’T NEED ANY EXPERIENCE IN WET FELTING, because I’ve designed it for beginners.
If you have any questions, you can always refer back to my previous videos on how to felt a sheet and a cord.
And, of course, I’m always here to answer your questions.
Enjoy!
50% Complete
And let you know when there's a new blog post, tutorial or masterclass available.
Don't worry, I hate SPAM and promise to keep your email address safe.