The Dodo Blog
In the last couple of weeks, I’ve been making big pre-felt sheets for a piece I’m working on. And every single one of them has given me problems felting.
This can happen for several reasons. It either has something to do with the amount of soap or water, or with the temperature. When this happens, ...
I frequently get emails from felt makers asking me if they can purchase only the patterns for my baby booties. When I taught how to make slippers, I was often asked if I’d sell only the patterns for the slippers.
I opted for never offering the resist patterns, the reason being that I’m for teaching...
Easter is just around the corner. Here's an idea to make your Easter gifts extra special!
WHAT DO YOU NEED FOR THE BUNNIES?
That will depend on how many you want to make. So, I’ll just give you the list of materials for 4 bunnies like mine. You can adapt the colors and/or decoration to your ow...

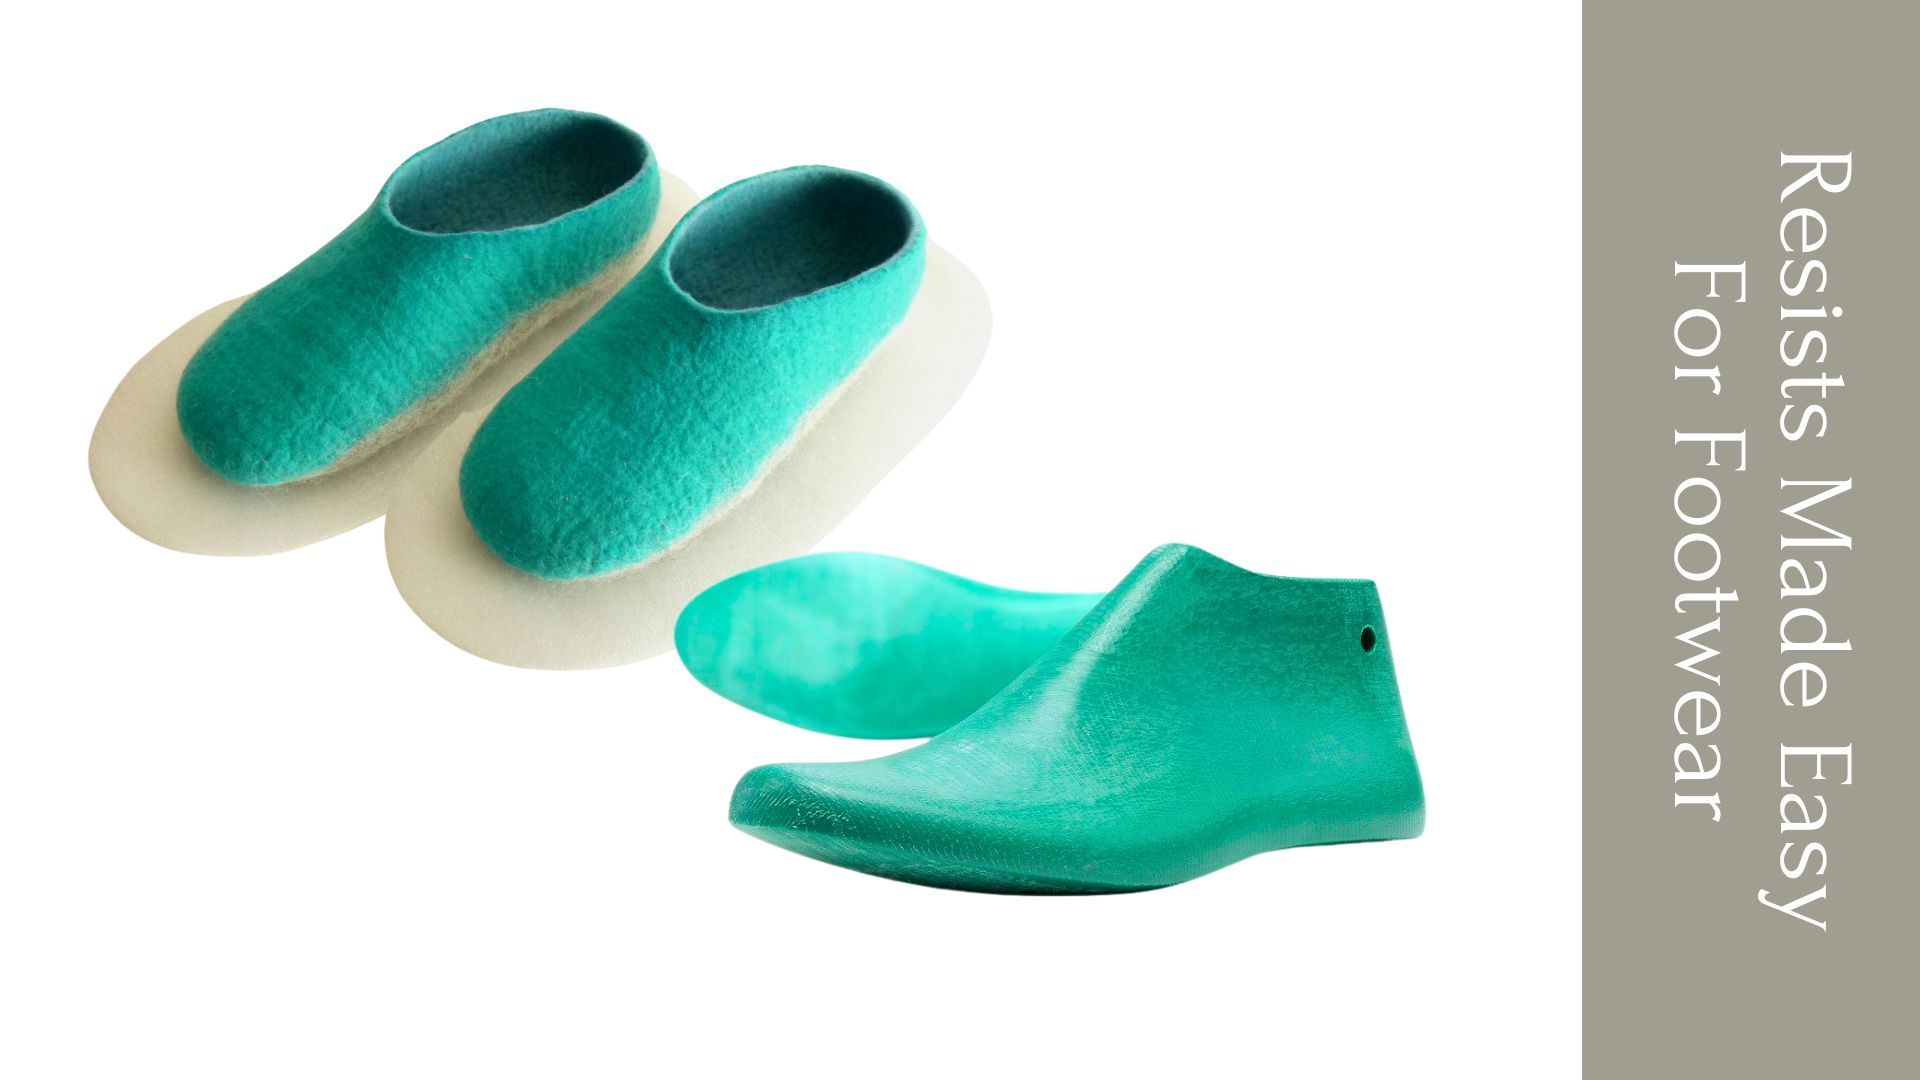
About two years ago, I taught a class called RESISTS MADE EASY – A PROVEN SYSTEM TO DESIGN RESISTS FOR WET FELTING.
It covered how to make resists for shoes, clothes, hats, bags, gloves and vessels in all sorts of shapes.
It was well received and fun to teach. But, next, I started focusing more on...
This is a question I know you’re asking yourself: Is the Baby Special Edition worth it?
That’s, of course, something only you can decide. But skimming through the class description will only give you a general idea. So, I’ve made a video to show you exactly what’s inside the “baby package”.
It’s ...
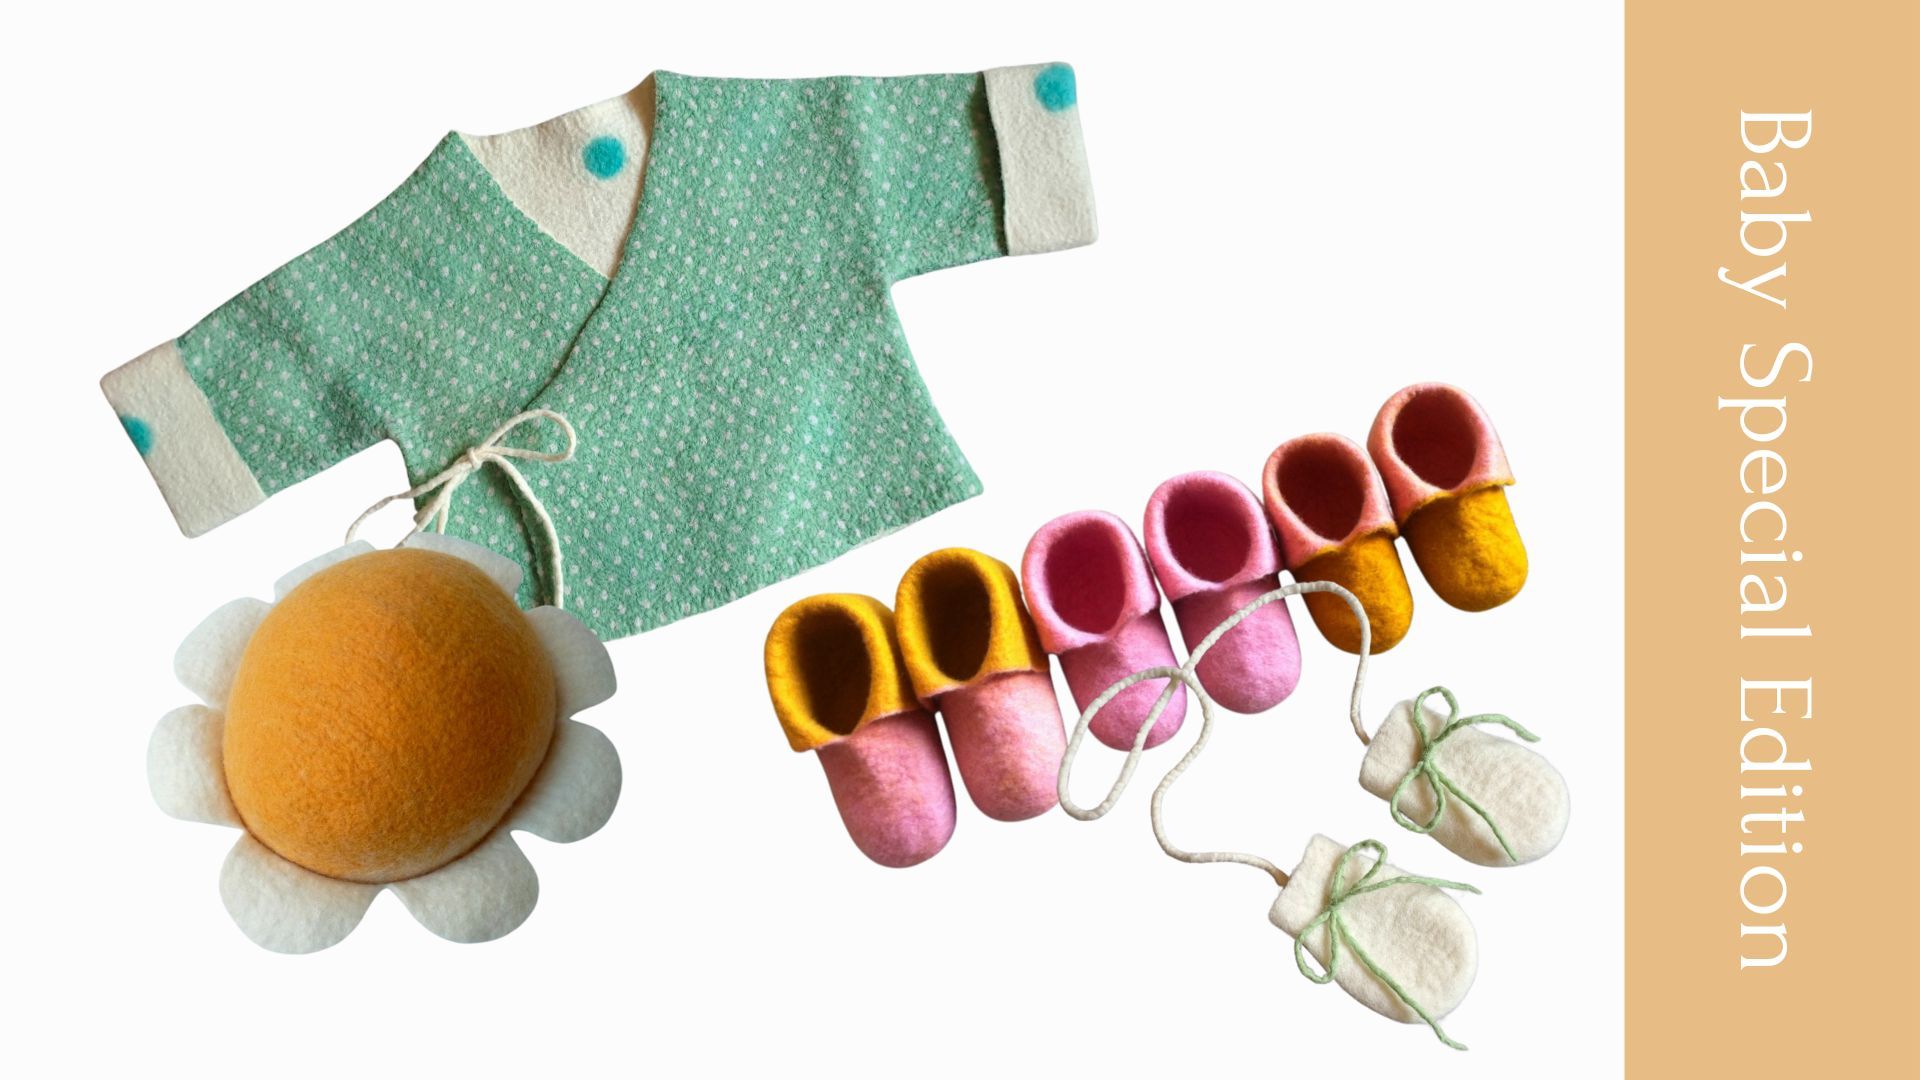
Today I’m bringing you something special, the Baby Special Edition.
Usually, you can only get these classes separately.
Now, for a limited time, I’m combining the Sweet Baby Jacket & Daisy Baby Hat with the Comfy Baby Booties & Tiny Baby Mittens in one package. In other words, you get 2 for the pr...
Last week we had a look at how to felt thin cords the easy way. But what if you want to felt thicker ropes like the ones you use for bag handles? Are they made in the same way?
What do you do if your wool top isn’t thick enough?
How do you guarantee that no grooves form on the surface of the cord ...
This video is the first one of a new series, in which we’ll be looking into the topic of making cords or ropes in wet felting.
While it’s more geared towards beginner felt makers, I know that many more experienced people also struggle with this. During my years as a felting teacher, I’ve gotten man...
So you had a look at the program, and now you’re thinking “Yes, one technique a month. But what do we really felt inside THE DODO HUB?”
I get that it may not be totally clear to you, so let me help you with that.
First, above there's a short video of some of the beautiful pieces made by the partic...
If you’ve been waiting to enroll in THE DODO HUB, I’ve got good news! The registration is open as of now.

Are you new to the DODO world, and not sure what THE DODO HUB is?
- It’s a comprehensive year-long program designed to take you from the intermediate level to an advanced and independent ...

Are you looking for an original gift for someone who loves wet felting?
Look no further! Now, you can also purchase ANY of these classes as a gift for someone you love.
How does this work?
1. Click the links below to go to each course page.

When I created THE DODO HUB, my year-long program, in 2023, many felt makers said that one year was too long for them. But they were interested in some of the topics covered in the program.
So, to give everyone the chance to participate, I started offering some of the classes separately. You’d get ...
