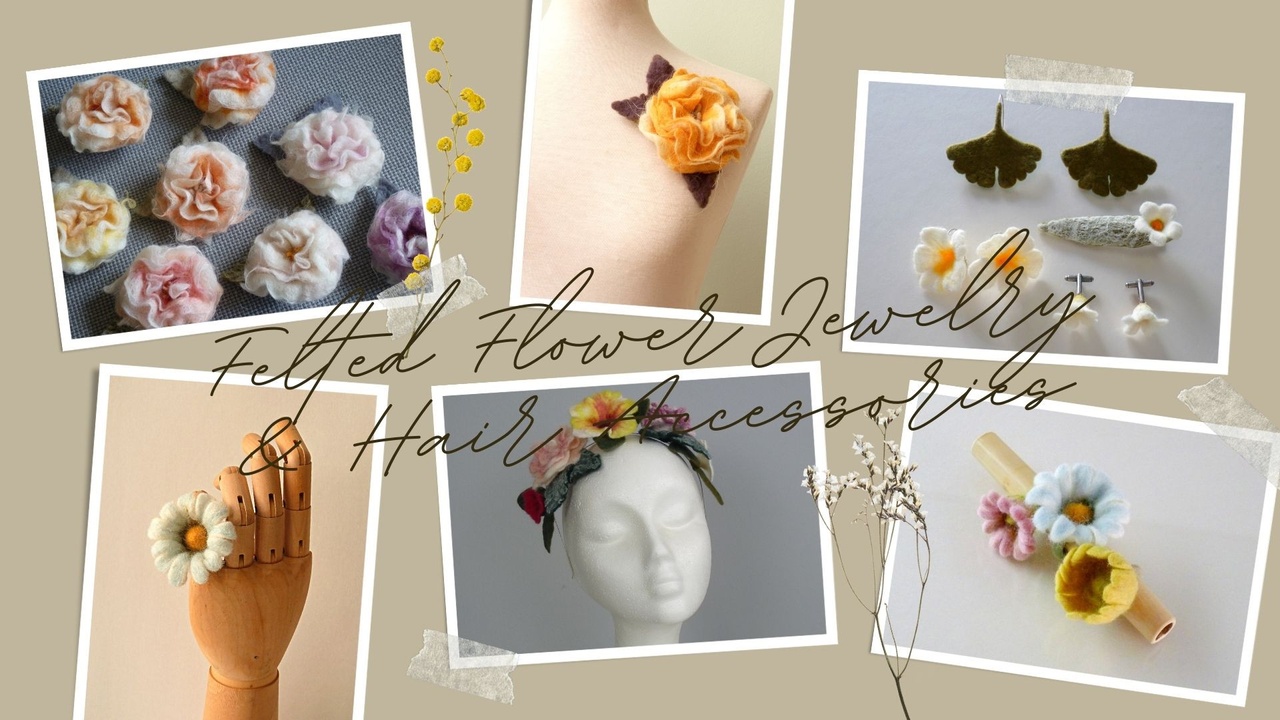
If you're following my Instagram account, you know that I've been sharing photos of my new baby items for some time :)
The idea of creating more felted pieces for kids has been on my mind for long. I just think it's the perfect medium for babies: soft wool and silk, natural non-toxic fibers, environmentally friendly materials, washable and long lasting products. Just perfect!
In the past I've created workshops on baby hats, play food and - one of my best sellers - baby booties. I wanted to expand this collection with more complex pieces that could also allow me to work with more advanced felting techniques. And that's what I've been preparing for the last couple of months: an online course on how to wet felt your baby's booties and jackets.
This is a 3-week, step-by-step video course, that walks you through all you need to know to felt your baby's booties and jackets in 3 different sizes, 3 design variations and 3 felting techniques. It includes:
Just wanted to let you know you can enroll for the Wet Felted Hats Masterclass from May 15th to May 19th.
The course will start May 22nd and will have a duration of 8 weeks.
If you've been wanting to improve your hat felting skills, stay tuned for the details tomorrow :)
Talk soon!
Vanda
As you might know, I created a new course recently: the Wet Felted Hats Masterclass for all of you whoād like to refine your hat making skills.
There was a first edition in February/March, which I launched as a test course. I had built a base structure and invited people to join as Founding Members to help me fully develop the best class possible. So, it grew considerably, since I added new modules, videos and other resources. And now itās ready for the second edition.
The enrollment will start in a few days, so I wanted to let you know what the Masterclass now looks like.
Ā
This next edition will include a total of 9 modules, walking you through:
When I first started wet felting, there where no YouTube videos and barely any books on the subject. I bought everything I could get my hands on and started experimenting. But most things on the market were very simple. So, for the most part, I learnt through trial and error.
One of the topics that nobody was going into in detail was the correct laying of the wool fibers. And, as I see it, thatās probably the most important thing you can learn about in wet felting. Sure, you do get felt no matter how well you lay your wool. But how good is your felt then?
This becomes more important if your piece needs a fair amount of shaping or if youāre making clothes, which need to adapt to your body.
So, what is the correct way to lay wool fibers?
First of all, wool for wet felting should be laid according to the shape of the piece. Let me use the example of a circular piece, like a beret. Would you lay your wool like this?
Ā
Well, you could. As I was saying, you will get a piece of felt in ...
I often get questions about felting in the comment section of my YouTube channel. Yesterday, one came up that I thought deserved a longer answer. Since itās a frequently asked question, it made sense to me to write a blog post on the topic.
Hereās what Kathleen McKinney wanted to know: āHow do you know if youāve felted and fulled enough? How do you know when an item is finished?ā
As itās often the case in wet felting, I have to start by saying that it depends on what youāre making.
The general answer would be ādo the pinch testā. If you pinch the surface of your felt and the fibers donāt lift any more, that means your felt is ready (see video).
Ā
But thereās more to it than that, so letās go into more details for different items:
After nearly 4 weeks of the Wet Felted Hats Masterclass, the course has grown considerably.
Iāve been creating short online felting courses since 2016 but planning a masterclass with the goal to cover all the possible challenges you might have when felting a classic hat, drawing patterns with the right measures, and expanding beyond the hats in the course is an entirely different story.
In short, I had never done anything this big. So, I knew it would be a challenge for me. But I love challengesā¦
This is also the reason it made sense to make it a sort of a ātrialā edition: the members invest considerably less than they would in the regular edition, and they get to help me finish building the course. And they know they had a big role to play in the final product.
I have to admit I felt a bit nervous at first. Iām a perfectionist, so I donāt feel comfortable delivering an āunfinishedā product. But Iām so happy I decided to do things this way. I would never have been able to know all ...
It's oficial!!!
The cart is now open for the SPECIAL EDITION of theĀ Wet Felted Hats Masterclass.
If you're interested in becoming aĀ FOUNDING MEMBER, it's as easy as clicking theĀ image below. It will take you to a page with all the information about the course. Just follow the instructions from there.
Ā
With this edition of the MasterclassĀ you'll get:
I'll beĀ asking youĀ to:
If you think this is something that might interest you, you'llĀ have to act fast, since:
Please note the cart will close sooner if ...
A couple of weeks ago I got a sweet email from Jet van Grinsven, a felter from the Netherlands, thanking me for the inspiring blog and info, as well as asking me a question.
Jet is building a new home and wants to create a wall hanging, but isnāt sure if she should be using a stronger background as a base for the felted structure. Jet had been advised to use cheese cloth, but wasnāt certain if that was the best option. So, she wanted to know if I could give her some tips on that.
If making a felted wall hanging is something youāre thinking about, maybe you can take advantage ofĀ the tips I gave Jet, so here they are.
Ā
āYou don't necessarily need to use a background as a base for your wall covering. It will depend a lot on what you're planning toĀ felt.Ā
I'd say the first thing to think about is how thick you'll make the piece. For example, here is a photo of a wall decoration I made some time ago. It's very light, so it doesn't need any particular background because the piece isn...
Coming to you from a locked down Lisbon. Canāt lie. Not feeling great. And Iām guessing you may not be feeling great either.
But itās time to⦠I nearly said āreactā. Instead, itāsĀ time to act. Iāve startedĀ going for a jog in the morning again. And Iām slowlyĀ getting back to a routine, as normal as possible.
Meanwhile, IāveĀ been working on something that I promised you a long time ago: the Wet Felted Hats Masterclass. Itās ready and Iām now testing all the connections and technical stuff that must be in place to make things work smoothly. If you havenāt had the chance to see what itās about, hereās the link to check it out.
If all the tests Iām doing go well (and Iām expecting they do), itāll beĀ availableĀ for you to buyĀ from January 30thĀ (next Saturday) to February 5th. The course will then beĀ accessible from February 6thĀ and willĀ go on for 5 weeks, during which Iāll beĀ releasing one module per week.
Ā
But let me tell you more about this OFFER, since itās the first time Iām doing...
One of the questions I'm asked most often in my live classes is "is this enough soap?"
Felters who aren't very experienced are often unsure about how much soap to apply to their wool fibers. But there are a couple of clues that can help you avoid drowning your project in foam.Ā And that's what I'll go into today.
Before I get into that, I'd like to say that the best way to avoid getting your project too soapy is to add soap slowly and only add more when you notice itās not enough.
This is why using soapy water is not my preferred method of adding soap to the wool. I like adding water, getting my hands soapy first and only then applying it to the fibers. This way I have more control over how much soap is going into the wool.Ā If you use this method, the tips I have for you today make much more sense.
Youāll know you have the right amount of soap when:
Ā
1. The wool doesn't stick to your hands.
When youāre applying soap with the method I mentioned above, youāll notice the fibers sti...
50% Complete
And let you know when there's a new blog post, tutorial or masterclass available.
Don't worry, I hate SPAM and promise to keep your email address safe.